Seat Leon >> Removing and installing underbody trim
Special tools and workshop equipment required
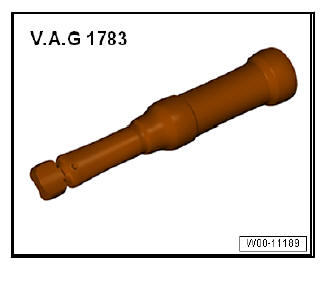
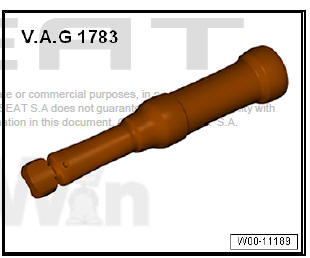
- Torque wrench 2-10 Nm - VAG 1783-
Note During removal and installation, take note of small amounts of differences depending on the engine.
Removing
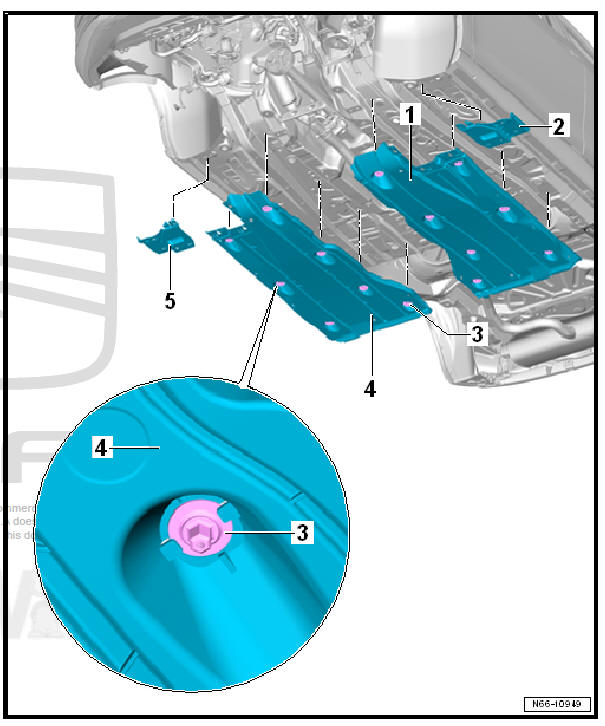
- Remove underbody trim (centre).
- Release retaining tab and pull out front cover -2- or -5- in direction of travel backwards off catches.
- Remove nuts -3-.
- Remove underbody panel -1- or -4-.
fitting
Install analogously in reverse order, but note the following:
Removing and installing underbody trim (centre)
Removing and installing centre underbody covers
Note During removal and installation, take note of small amounts of differences depending on the engine.
Removing
- Unclip spreader river -2- and remove centre underbody panels.
fitting
Installation is done in reverse order of removal operations.
Removing and installing short centre underbody cover
Special tools and workshop equipment required
- Torque wrench 2-10 Nm - VAG 1783-
Note During removal and installation, take note of small amounts of differences depending on the engine.
Removing
Unclip spreader river -2- and remove centre underbody panels.
Unscrew the bolt -3-.
fitting
Installation is done in reverse order of removal operations.
Specified torques
Removing and installing underbody trim (rear)
Special tools and workshop equipment required
- Torque wrench 2-10 Nm - VAG 1783-
Note During removal and installation, take note of small amounts of differences depending on the engine.
- Loosen lock washer -3-.
- Unclip spreader rivet -2- and remove bolt -4-.
- Detach underbody trim (rear) -1-.
Installation
Install analogously in reverse order, but note the following:
Specified torques
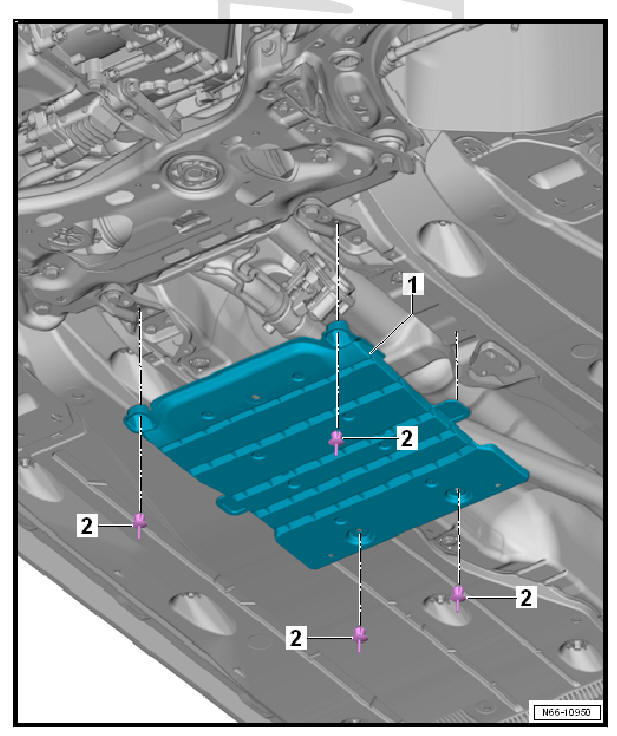
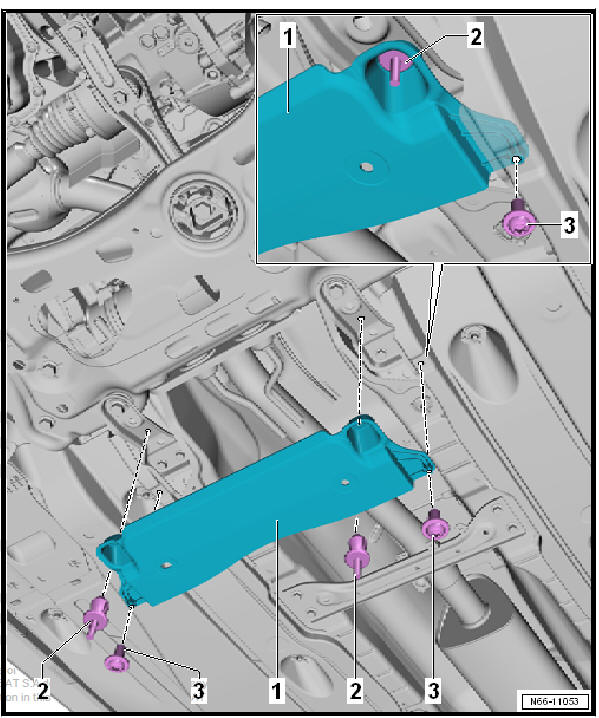
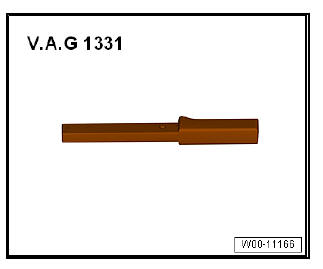
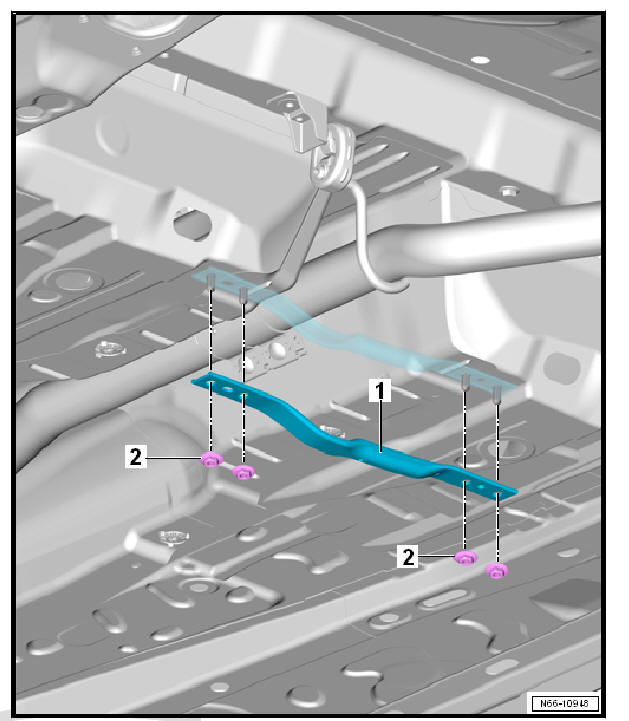
Removing and installing tunnel crosspiece (front)
Special tools and workshop equipment required
- Torque wrench - V.A.G 1331-
Removing
- If present, remove centre underbody trim.
- Loosen bolts -2-.
- Detach tunnel cross-piece (front) -1-.
fitting
Install analogously in reverse order, but note the following:
Specified torques: 20 Nm
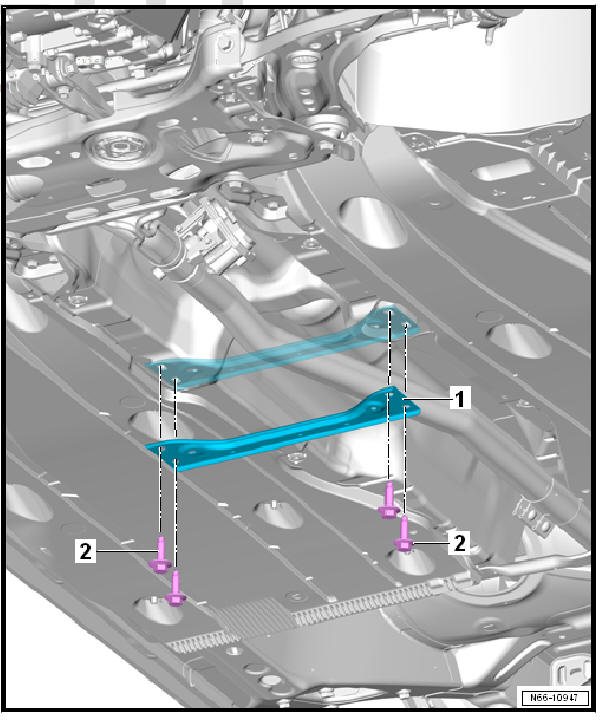
Removing and installing tunnel crosspiece (rear)
Special tools and workshop equipment required
- Torque wrench - V.A.G 1331-
Removing
- Loosen rear underbody panel and press downward slightly.
- Remove nuts -2-.
- Detach tunnel cross-piece (rear) -2-.
fitting
Install analogously in reverse order, but note the following:
Specified torques
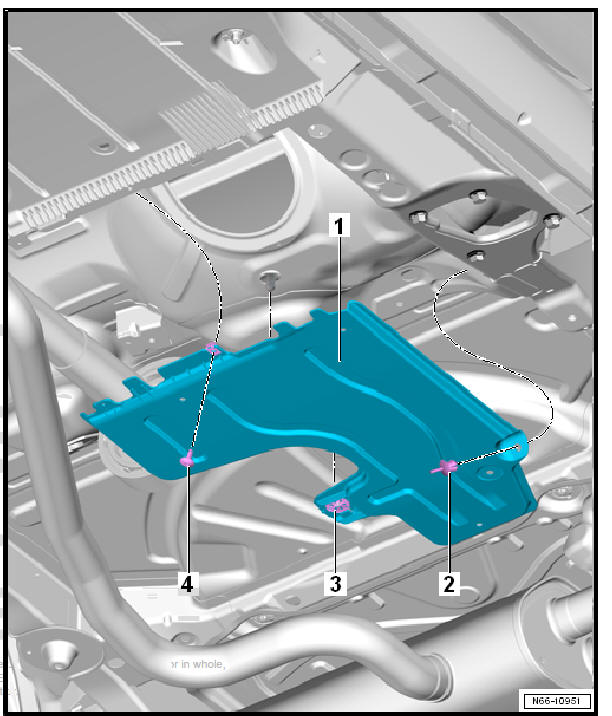
Removing and installing underbody panel for natural gas tank
Removing
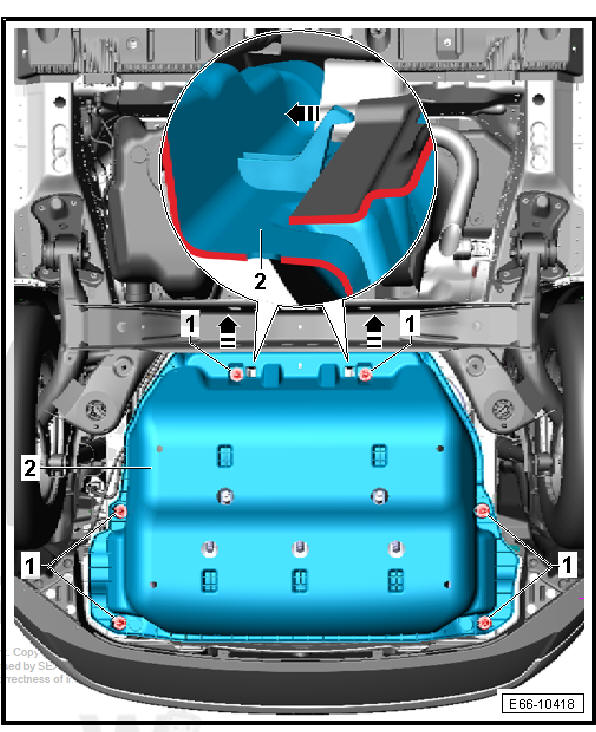
- Unscrew the nuts from front to back.
- Unhook the underbody panel in the socket for the gas tank towards the front and then pull it out to the rear.
fitting
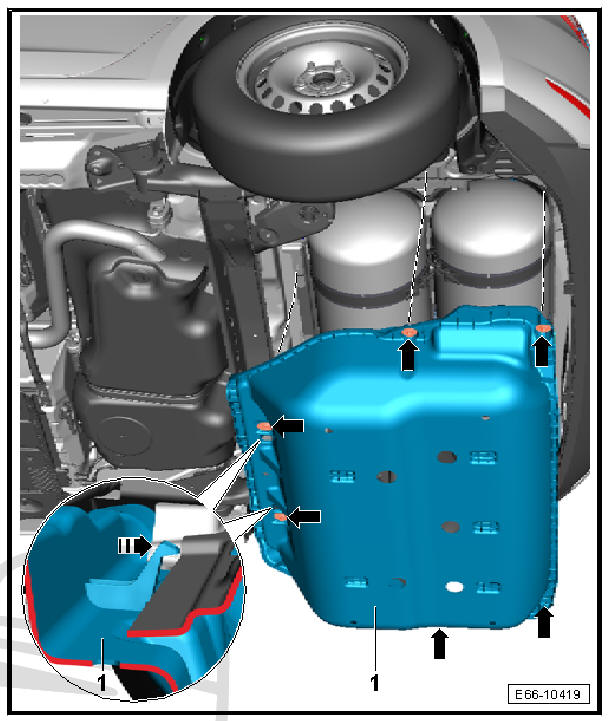
- Insert the underbody panel with the locking hook forwards into the socket for the natural gas tank.
Note To install the underbody panel -2- the locking lugs must be inserted into the socket for the natural gas tank.
- Tighten nuts from back to front with a torque of 2 Nm.
 Exploded view - underbody trim
- Bolt.
1 + 1 each
2 Nm
- Guard for the window lifter
bracket
Left-side
Removing
Unscrew the screw and
release the locking elements
of the side at the
rear.
...
 Roof strips / roof rails
Exploded view - roof rail
- Roof railing
1 + 1 each
With mounting point
seals and bonded sealing
material on the contact
areas of the roof
Caution
Every time the roof ra ...
See also:
Removing and installing main fuse holder
in E-box
Removing
With the ignition switched off, disconnect battery earth cable.
Remove fuse holder B .
Take securing bar -4- out of fuse holder B upwards.
Unlatch mounting clip -1- in -arrow direct ...
