Seat Leon >> Removing and installing bumper cover
Removing and installing bumper cover
Special tools and workshop equipment required
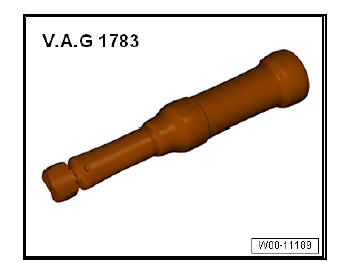
- Torque wrench 2-10 Nm - VAG 1783-
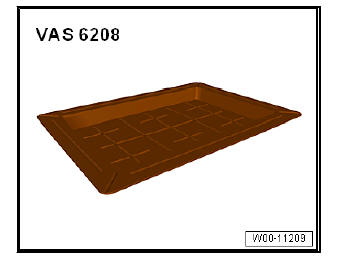
- Liquids capture device - VAS 6208-
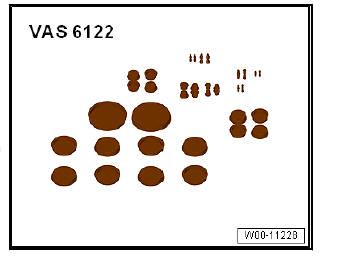
- Sealing plug set - VAS 6122-
| Caution The following does not have to be removed to remove the front bumper lining:
|
Removing
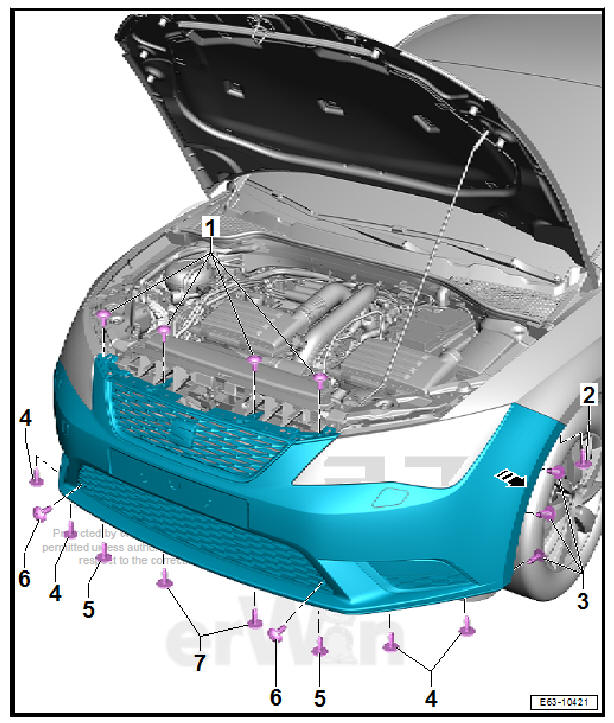
- Remove lock carrier cover
- Unscrew bolts -4-, -5-, -6- and -7-.
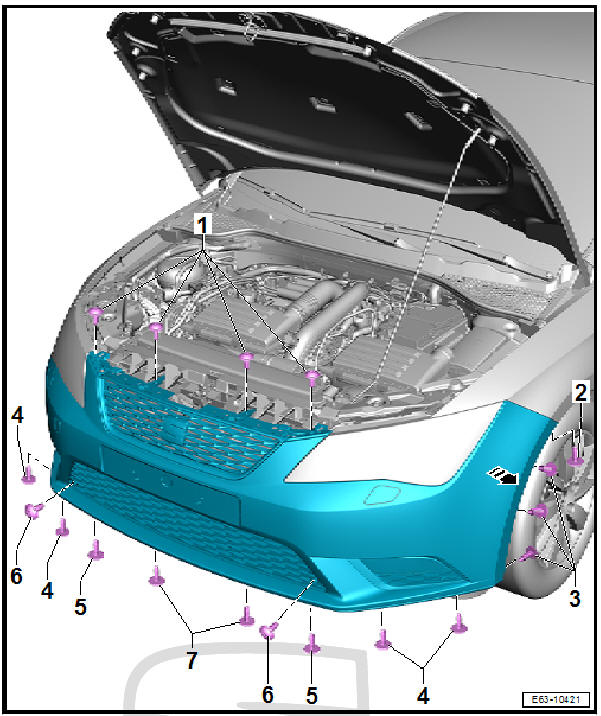
- Undo the screws -2- and -3- from both sides.
- Release the trim from the bumper. Fort this, pull both edges from both sides to unclip the trim panel from the guide -Arrow-.
| Caution There is a risk of damaging the electrical wiring harness |
Before completely removing the trim of the bumper:
Vehicles with parking steering aid only:
- Unclip and disconnect the plug for the parking assist sender
Only vehicles with fog lights:
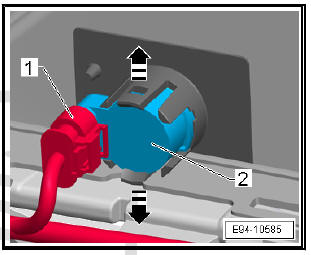
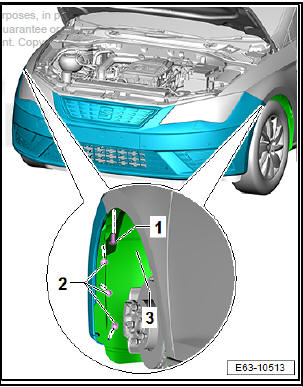
- Unclip and disconnect -1- the fog light.
Vehicles with headlight washers only:
- Place the drip tray - T20173- under the washer fluid reservoir.

- Detach the line -1- from the clip -2- of the plenum chamber for the headlight washer system.
- Detach clip -3- from the pump for the headlight washer system.
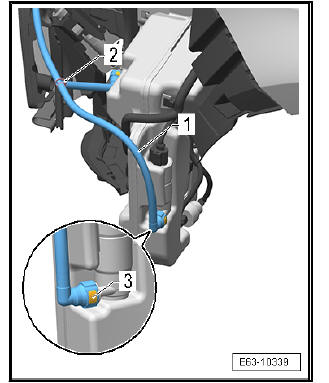
Note Turn the pump motor of the headlight washer system slightly to the outside in order to make handling of the clip -3- easier.
- Seal the pump of the headlight washer system with the plug from the sealing plug set - VAS 6122- .
All vehicles (continued):
- Then screw out the remaining bolts (-1-).
Note To protect the components removed against damage, cover the resting surface with soft material.
- Remove front bumper lining.
Installation
Fit in reverse order from removal, remembering the following:
Note When installing the bumper, take special care that the paint on the upper ends of the locked ends on the wing are not impaired.
If necessary, protect these using masking tape before installing and remove after installing.
Use the tightening torque of the screws
- If installed, adjust the fog lights if these have had to be removed for repairing the bumper trim.
Note
- Check the gap in the front bumper cover.
- Before closing front bonnet check the working of the Bowden cable lever.
Removing and installing bumper cover (Leon 2017 version)
Special tools and workshop equipment required
- Torque wrench 2-10 Nm - VAG 1783-
- Liquids capture device - VAS 6208-
- Sealing plug set - VAS 6122-
Removing
- Remove lock carrier cover
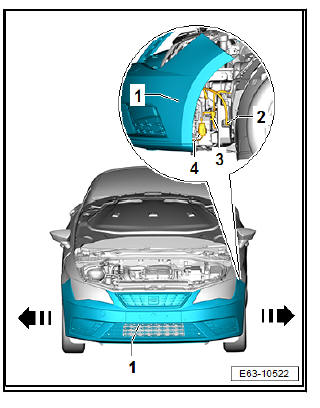
- Unscrew the bolts -1- and -2-.
- Unscrew screws -1- and -2- from below.
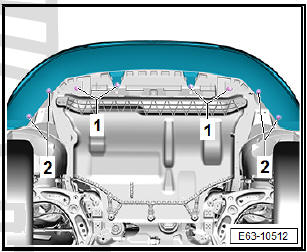
- Unscrew the bolts -2- from both sides, which fix the front bumper trim to the wheel housing -3-.
- Unscrew wheel housing -3- and loosen bolts -1- on both sides.
- Pull bumper trim -1- at both corners in the -direction of the arrow- out of the guides.
| Caution There is a risk of damage to the electrical wiring. |
Before completely pulling the trim off the bumper:
Only vehicles with fog lights:
- Unclip and disconnect -3- the fog light.
Vehicles with parking steering aid only:
- Unclip and separate connector -4-.
Vehicles with headlight washers only:
- Place the liquids capture device - VAS 6208- under the front windscreen wiper liquid tank.
Note Turn the pump motor of the headlight washer system slightly to the outside in order to make handling of the clip -2- easier.
- Detach clip -2- from the pump for the headlight washer system.
- Seal the pump of the headlight washer system with the plug from the sealing plug set - VAS 6122- .
All vehicles (continued):
Note To protect the components removed against damage, cover the resting surface with soft material.
- Remove front bumper lining.
Installation
Fit in reverse order from removal, remembering the following:
Note When installing the bumper, take special care that the paint on the upper ends of the locked ends on the wing are not impaired.
If necessary, protect these using masking tape before installing and remove after installing.
Use the tightening torque of the screws
- If installed, adjust the fog lights if these have had to be removed for repairing the bumper trim.
Note
- Check the gap in the front bumper cover.
- Before closing front bonnet check the working of the Bowden cable lever.
 Impact bar - exploded view
Impact bar - exploded view
- Impact bar
- Bolt.
2 + 2 each
8 Nm
- Bolt.
4 + 4 each
55 Nm
- Shock absorber
- Bolt.
2 off
8 Nm
- Protective support fo ...
 Removing and installing impact bar
Special tools and workshop equipment required
Torque wrench - VAG 1332-
Release lever - 80 200-
Removing
Remove bumper cover (front).
Remove the main headlight unit with the low ...
See also:
Coolant lines on condenser - disconnect
and connect
Special tools and workshop equipment required
Air conditioner service station
Engine bung set - VAS 6122-
Removal:
Turn off the ignition and all electricity consumers.
Vehicles witho ...
