Seat Leon >> Removing and installing front vehicle level senders -G78- / -G289-
SEAT Leon Service and Repair Manual / Running gear, axles, steering / Self-levelling suspension / Vehicle level sender / Removing and installing front vehicle
level senders -G78- / -G289-
Special tools and workshop equipment required
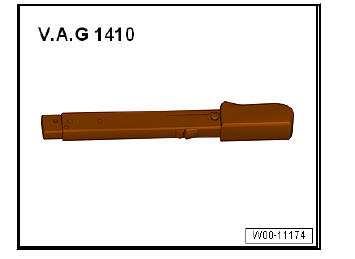
- Torque wrenches - V.A.G 1410-

Removing
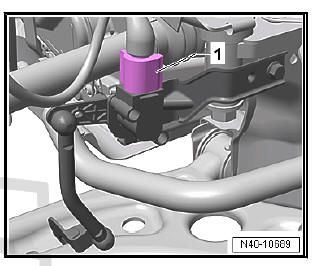
- Disconnect connector -1- on front left vehicle level sender - G78- and/or front right vehicle level sender - G289- , as applicable.

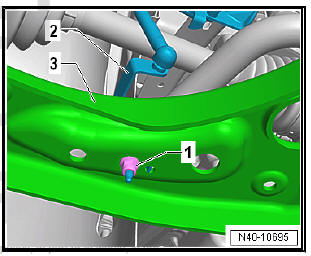
- Remove nut -1-.
- Pull bracket -2- for front left vehicle level sender - G78- and/or for front right vehicle level sender - G289- out of suspension link -3-, as applicable

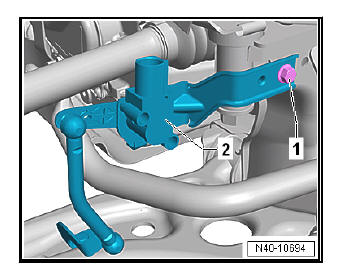
- Unscrew bolt -1-.
- Remove front left vehicle level sender - G78- and/or front right vehicle level sender - G289- , as applicable.
Installing
Carry out installation in the reverse sequence, noting the following:

Note
- Lever on vehicle level sender must face towards outside of vehicle.
- Thread of vehicle level sender must be screwed into outer hole in suspension link. Retaining lug for vehicle level sender must engage in inner hole in order to guarantee correct installation position.
- Perform basic setting of wheel damper electronics - Vehicle diagnostic tester.
- If the reference position has been re-adapted, the front camera for driver assist systems must be recalibrated on vehicles with lane departure warning function.
- Perform basic setting of headlights.
 Exploded view - front vehicle level sender
Note
The front left/right vehicle level sender - G78/G289- is only available as a
replacement part complete with
coupling rod and upper and lower retaining plates.
- Wishbone
- Sub-frame
...
 Removing and installing rear vehicle
level senders -G76- / -G77-
Removing and installing rear left vehicle
level sender - G76- , torsion beam axle
Special tools and workshop equipment required
Torque wrenches - V.A.G 1410-
Removing
Unplug the electri ...
See also:
Reversing camera system
Layout - reversing camera system
The reversing camera supports the driver during reversing by
providing the driver with an image of the traffic situation behind
the vehicle on the radio/navigation ...
