Seat Leon >> Repairing shock absorber
SEAT Leon Service and Repair Manual / Running gear, axles, steering / Rear suspension / Suspension strut, shock absorber,
spring / Repairing shock absorber
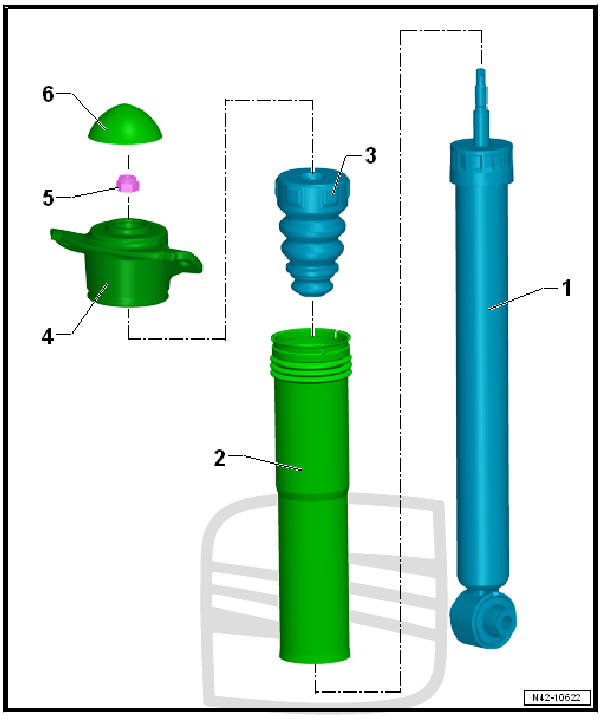
- - Shock absorber
- Removing and installing
- Defective shock absorbers must always be degassed and drained before disposal
- Checking shock absorber following removal
- - Guard tube
- - Buffer stop
- - Shock absorber socket
- - Nut
- Always renew after removing
- Loosening and tightening
- 25 Nm
- - Cover
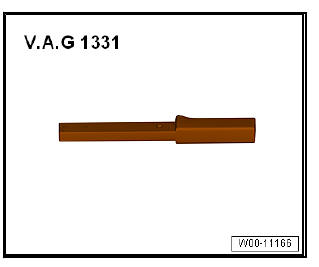
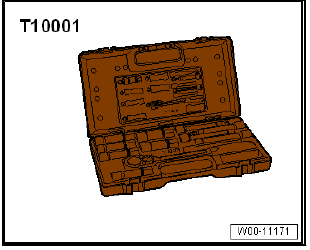
Special tools and workshop equipment required
- Torque wrenches - V.A.G 1331-
- Shock absorber set - T10001-
- Ring spanner insert (commercial type, e.g. "Hazet 6630c-21")
Loosening and tightening nut on shock absorber mounting
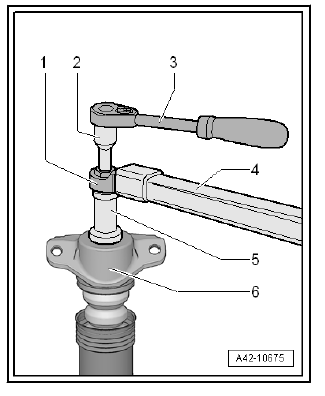
- - Ring spanner insert (commercial type, e.g. "Hazet 6630c-21")
- - Insert tool - T10001/9-
- - Commercially available ratchet
- - Torque wrenches - V.A.G 1331-
- - Insert tool - T10001/1-
- - Shock absorber mounting
Carry out installation in the reverse sequence, noting the following:
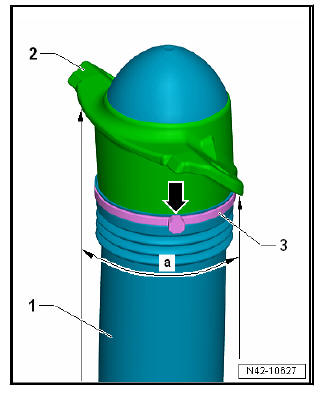
- Slide protective tube -1- onto shock absorber mounting -2-.
- Fit cable tie -3- and tighten.
Note The fastener -arrow- of the cable tie -3- must be located within area -a-.
 Shock absorber: removing and fitting
Removing and installing shock absorber, torsion beam axle
Special tools and workshop
equipment required
Torque wrenches -
V.A.G 1332-
Torque wrenches - V.A.G
1410-
Spring tensor - V.A.G
...
 Removing and installing spring
Removing and installing spring, torsion
beam axle
Special tools and workshop equipment required
Spring tensor - V.A.G 1752/1-
Spring retainer - V.A.G 1752/3A-
Adapter - V.A.G 175 ...
See also:
Connection for external multimedia
devices
Removing and installing connection for
external audio source - R199-
Connection for external audio sources -
R199- : Removal and installation, in the
glove compartment
Special tools and workshop ...
