Seat Leon >> Removing and installing wheel arch trims
Removing and installing front wheel arch trims
Special tools and workshop equipment required
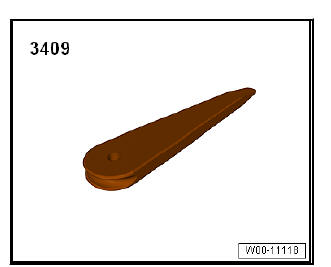
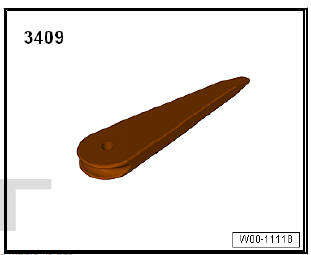
- Release lever - 3409-
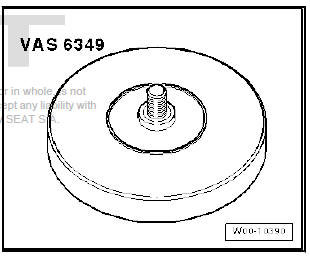
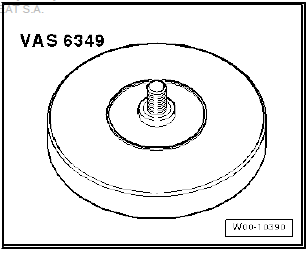
- Adhesive strip remover - VAS 6349-
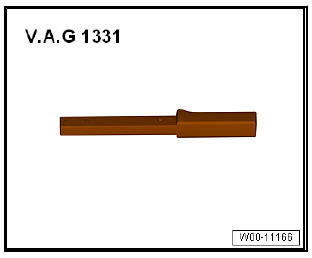
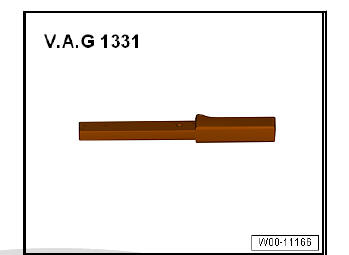
- Torque wrench - V.A.G 1331-
- Cable holder knob - VAG 1351/1-
Press tool - T20098-
Fitting notes
- The bonded trim cannot be removed without damage.
- Remove any adhesive residues of the adhesive tape with adhesive strip remover - VAS 6349- .
- When installing or removing a trim, only the adhesive remover - D 002 000 A2- will be used for removing adhesive residues.
- Ensure that the adhesive surfaces are free of dust and grease.
- The trim must be bonded in place immediately following cleaning.
- Remove protective film just before the installation.
- The application temperature is 21º C
Removing
Note
- The front wheel arch trim cannot be removed without being damaged.
- Removal and installation sequence is only for the left side.
Follow same instructions for the right side as appropriate.
- Tape over all adjacent painted surfaces.
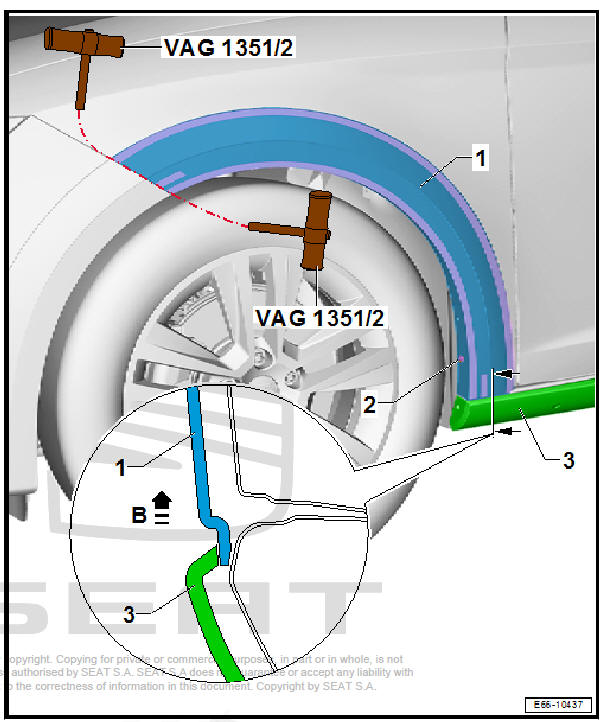
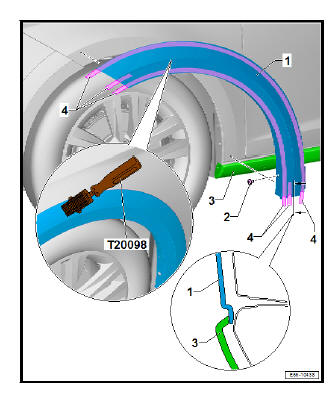
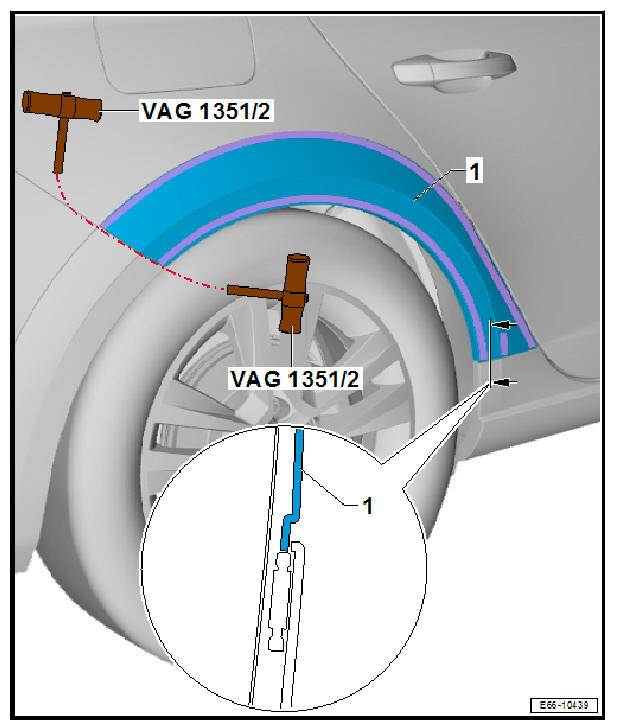
- Unscrew the bolt -2-.
- Insert the cutting cord into the end of the top wheel cover -1- as shown in the illustration and cut the adhesive sealant in -the direction of the arrow-. Ensure that, in the process, the parts are not damaged.
- Remove the front wheel cover -1- in -the direction of the arrow A-.
fitting
Preparing the wing for installation of the front wheel cover
- Remove possible adhesive residues on the wing with the tool - VAS 6349- .
- Clean the area of the wing in the front wheel cover where the new label cover is to be applied with isopropanol or heptanes alcohol.
- Subsequently treat the front wheel cover mounting zone with silicone cleaner.
- Allow to dry well.
- Place the front wheel cover -1- on the wing.
- Remove the protective foils -4- from the adhesive tapes.
- Press the adhesive tape areas with a roller.
- Attach the securing bolt and tighten.
Note The minimum hardening time for the adhesive is 20 minutes.
Removing and installing rear wheel arch trims
Special tools and workshop equipment required
- Release lever - 3409-
- Adhesive strip remover - VAS 6349-
- Torque wrench - V.A.G 1331-
- Cable holder knob - VAG 1351/1-
Press tool - T20098-
Fitting notes
- The bonded trim cannot be removed without damage.
- Remove any adhesive residues of the adhesive tape with adhesive strip remover - VAS 6349- .
- When installing or removing a trim, only the adhesive remover - D 002 000 A2- will be used for removing adhesive residues.
- Ensure that the adhesive surfaces are free of dust and grease.
- The trim must be bonded in place immediately following cleaning.
- Remove protective film just before the installation.
- The application temperature is 21º C
Removing
Note
- The rear wheel arch trim cannot be removed without being damaged.
- Removal and installation sequence is only for the left side.
Follow same instructions for the right side as appropriate.
- Tape over all adjacent painted surfaces.
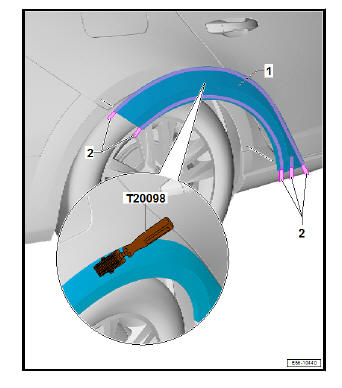
- Insert the cutting cord into the end of the rear wheel cover -1- as shown in the illustration and cut the adhesive sealant in -the direction of the arrow-. Ensure that, in the process, the parts are not damaged.
- Remove the rear wheel cover -1-.
fitting
Preparing the wing for installation of the rear wheel cover
- Remove possible residual adhesive on the side panel with the tool - VAS 6349- .
- Clean the area of the side panel where the rear wheel cover is to be applied with isopropanol or heptanes alcohol.
- Subsequently treat the rear wheel cover mounting zone with silicone cleaner.
- Allow to dry well.
- Place the rear wheel cover -1- on the side panel.
- Remove the protective foils -2- from the adhesive tapes.
- Press the adhesive tape areas with a roller.
Note The minimum hardening time for the adhesive is 20 minutes.
 Removing and installing sill panel trim
Removing and installing side member
trim, X-PERIENCE version
Special tools and workshop equipment required
Release lever - 3409-
Adhesive strip remover - VAS 6349-
Torque wrench ...
 Remove and install heat shield for luggage
compartment floor
Remove and install heat shield for luggage
compartment floor
Special tools and workshop equipment required
Torque wrench - V.A.G 1331-
Protective goggles and leather gloves
Removing
DANGER!
Always wear safety goggles and leather gloves ...
See also:
Sealing rings
Location overview - seals
- Oil seal
For the input shaft
Replace after removal
- Oil seal
For right flange shaft
Replace after removal
- Oil seal
For left flange s ...
