Seat Leon >> Dismantling and assembling drive shaft
Special tools and workshop equipment required
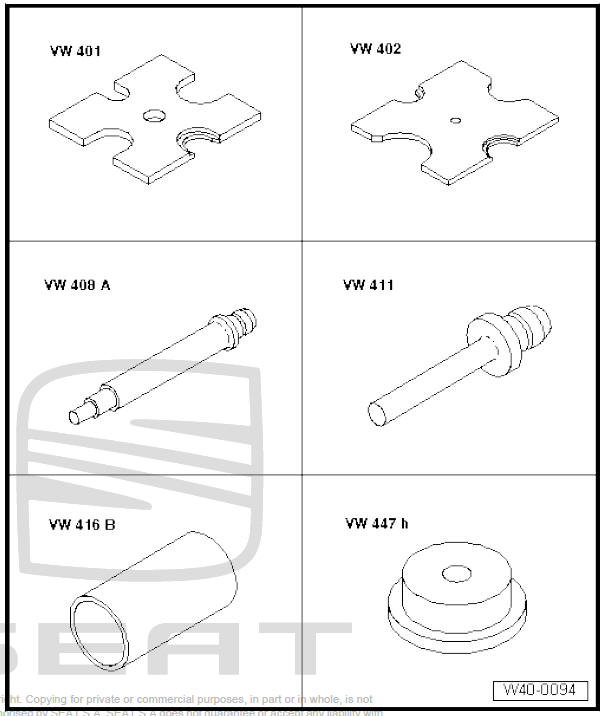
- Tightening plate - VW 401-
- Tightening plate - VW 402-
- Die - VW 408 A-
- Die - VW 411-
- Tube element - VW 416 B-
- Thrust pad - VW 447 H
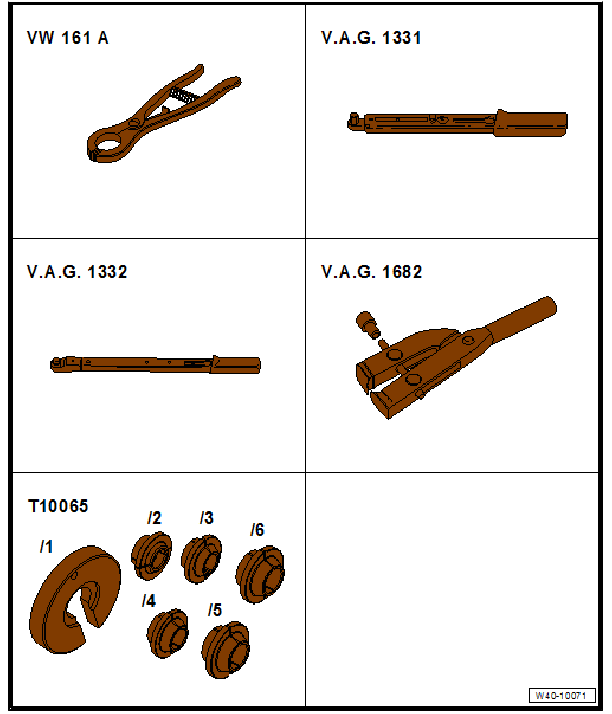
- Circlip pliers - VW 161 A-
- Torque wrenches - V.A.G 1331-
- Torque wrenches - V.A.G 1332-
- Pliers - V.A.G 1682-
- attachment tool - T10065-
Dismantling
Driving out constant velocity joint
- Clamp drive shaft in vice using protective jaw covers.
- Remove clamps.
- Push the dust guard backwards.
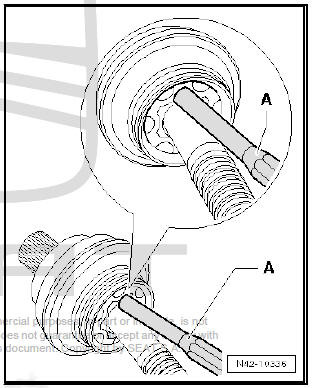
- Remove the constant velocity joint from the drive shaft using an awl -A-.
Drift must be positioned exactly on ball hub of constant velocity joint.
Position the seal
Installation position of dished spring at outer joint
- - Dished spring
- Fit new circlip.
- Use plastic-headed hammer to drive joint onto shaft until circlip engages.
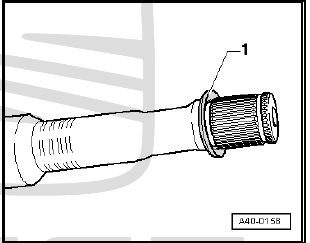
Separate cover for inner constant velocity joint
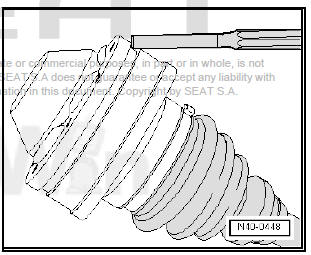
Pressing off inner constant velocity joint
- Separate the dustguard of the constant velocity joint with a punch.
- Remove circlip.
- Remove both clamps and slide boot towards outer joint.
Assembling
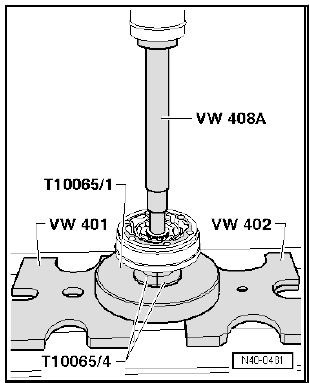
Installation position of the plate spring on the joint
- - Dished spring
Pressing on inner constant velocity joint
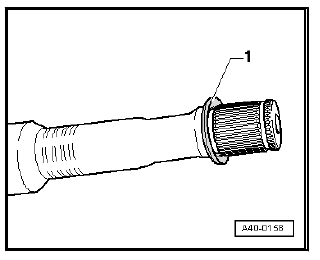
Note Chamfer on internal circumference of ball hub (splines) must face contact shoulder on drive shaft.
- Insert the constant velocity joint up to the limit.
- Install retaining ring.
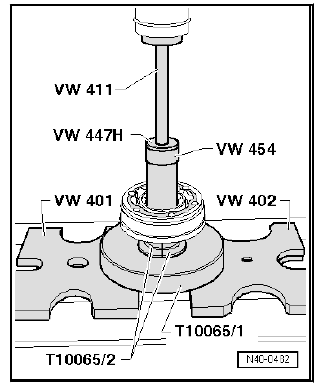
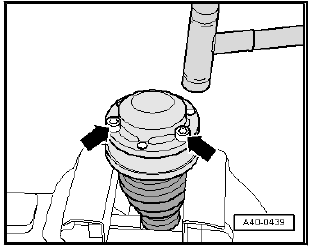
- Using bolts -arrows-, align new cover in relation to bolt holes.
The alignment must be very accurate, because no further alignment is possible once the part has been hammered on.
- Drive on cover using a plastic hammer.
Tighten clamp on outer joint
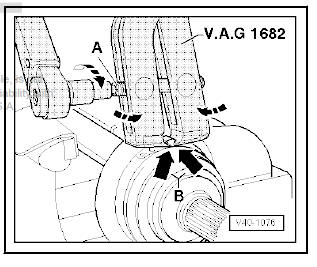
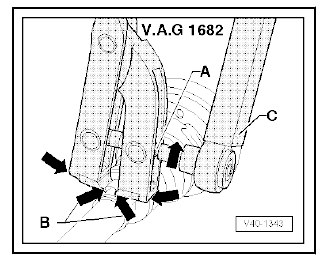
- Apply clamp tensioner - V.A.G 1682- as illustrated. Ensure jaws of tensioner lie in corners -arrows B- of clamp.
- Tighten hose clip by turning spindle with torque wrench (take care to keep clamp tensioner straight).
Note
- Due to the hard material of the protective boot (compared to rubber) and the necessity of using a stainless steel clamp, it is only possible to tension the clamp with clamp tensioner - V.A.G 1682- .
- Tightening torque: 25 Nm.
- Use a torque wrench -C- with a range between 5 ... 50 Nm (e.g torque wrench - V.A.G 1331- ).
- Check that the spindle thread -A- of the pliers is easily movable.
Apply MOS 2 grease if necessary.
- If the thread is tight (e.g. due to dirt), the required clamping force for the clamp will not be attained although the specified tightening torque is applied.
Tightening clamp on small diameter
 Removing and installing drive shaft
Special tools and workshop equipment required
Torque wrenches - V.A.G 1332-
Puller - T10520-
CautionWhen removing and installing drive shafts, do
not allow them
to hang ...
 Loosening and tightening drive shaft
bolt
Special tools and workshop equipment required
Socket, AF 24 - T10361A-
Rotation angle spanner - V.A.G 1756 A-
CautionWheel bearings must not be subjected to load
after loos ...
See also:
Drive shaft dust cover: Visual inspection
for damage
Check the dust protection on inside and outside of propeller
shafts -arrows- for damage and leakage.
Ball joint mount: check the play, correct
seating and the dust protection caps.
NOTICE ...
