Seat Leon >> Removing and installing noise insulation
SEAT Leon Service and Repair Manual / General body repairs, exterior / Exterior equipment / Damper / Removing and installing noise insulation
Removing and installing noise insulation (short version)
Special tools and workshop equipment required
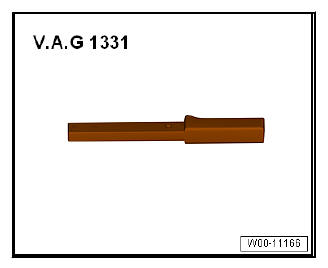
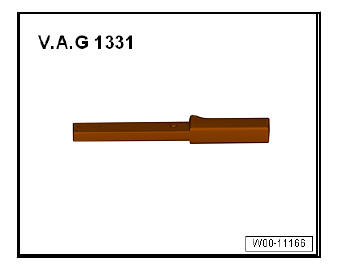
- Torque wrench - V.A.G 1331-
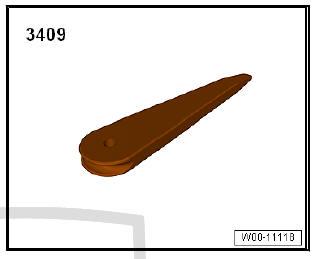
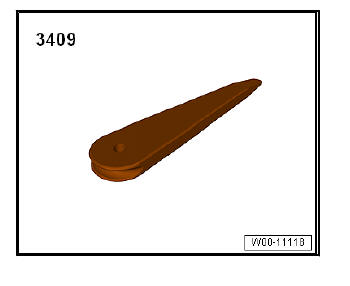
- Release lever - 3409-
Removing
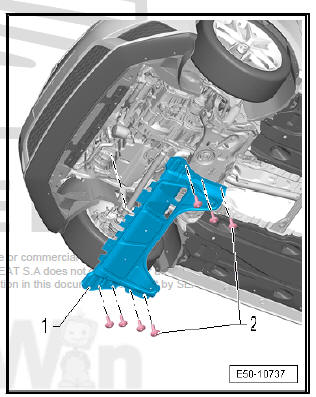
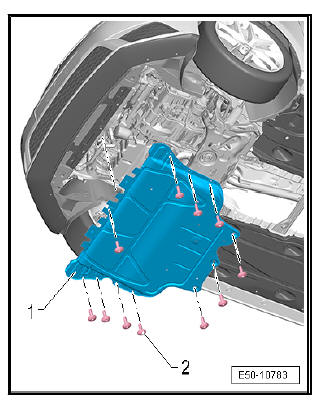
- Remove screws -2-.
- Using the lever - 3409- , press on the fixing tags and remove the centre noise insulation -1-.
fitting
Fit in reverse order from removal, remembering the following:
- Use the tightening torque of the screws.
Removing and installing noise insulation (long version)
Special tools and workshop equipment required
- Torque wrench - V.A.G 1331-
- Release lever - 3409-
Removing
- Remove screws -2-.
- Using the lever - 3409- , press on the fixing tags and remove the centre noise insulation -1-.
fitting
Fit in reverse order from removal, remembering the following:
- Use the tightening torque of the screws.
Removing and installing skid plate
Special tools and workshop equipment required
- Torque wrench - V.A.G 1331-

Removing
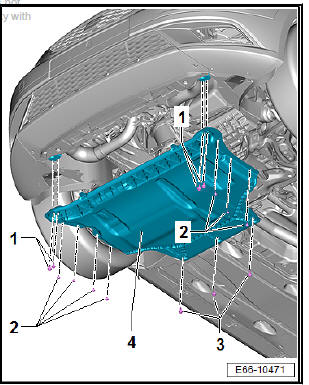
- Unscrew bolts -1-, -2- and -3-.
- Remove the centre -4- noise insulation.
fitting
Fit in reverse order from removal, remembering the following:
- Use the tightening torque of the screws.
 Exploded view - noise insulation
Assembly overview - short noise insulation
Note
During removal and installation, take note of small amounts of differences
depending on the engine.
- Short noise insulation
- Bolt.
8 of ...
 Underbody trim
...
See also:
Side indicators
Fig. 173 Indicator
– Press the indicator on one of its sides to take it out.
– Remove the lamp holder from the indicator.
– Remove the failed glass bulb and replace with a new bulb.
– In ...
