Seat Leon >> Removing and installing attachments
Replacement of the rear parking steering aid sender holder
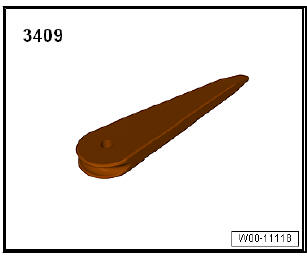
Special tools and workshop equipment required
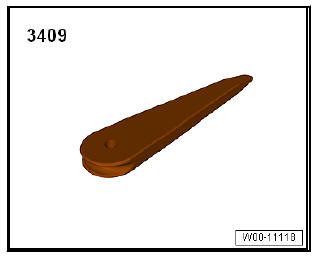
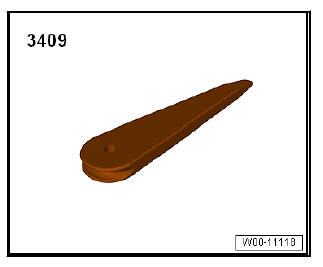
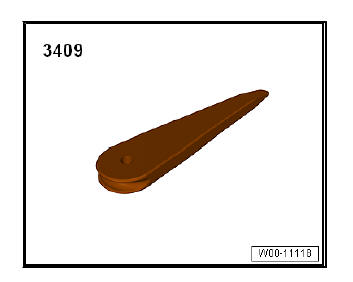
- Release lever - 3409-
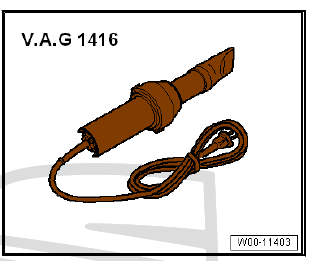
- Hot-air blower - VAG 1416-
Materials
- Plastic cleanser 100 ml - D 195 850 A1- .
- Plastic primer, 150ml - D 822 150 A1-
Removing
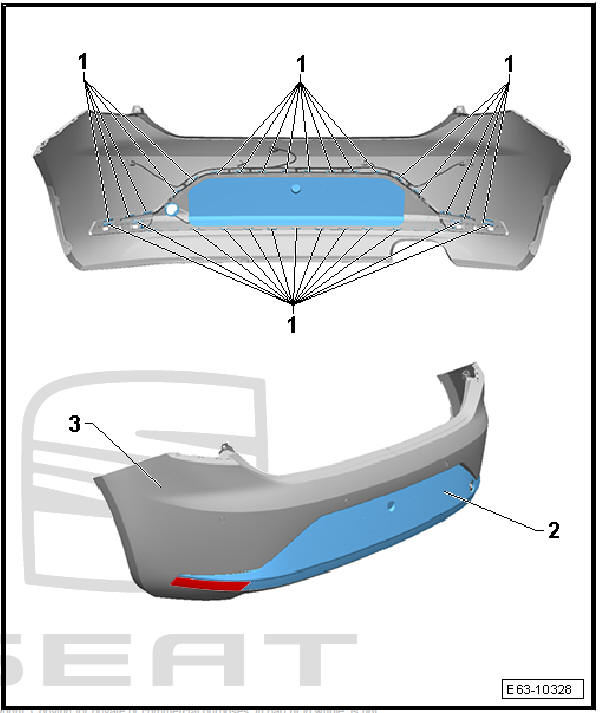
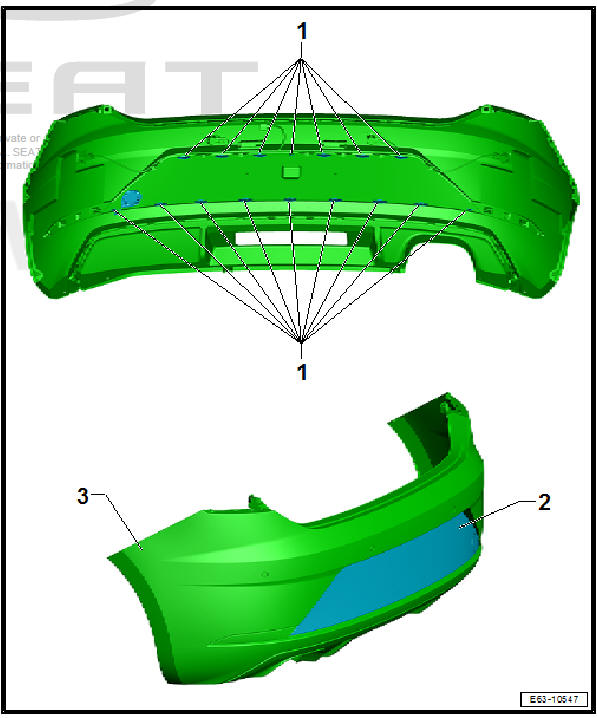
- Remove rear bumper cover.
- Remove the rear parking assist sender.

- Before removal, the sender holder must be heated using the hot air blower - VAG 1416- .
- Using the lever - 3409- remove the holder from behind the bumper trim.
fitting
Note The holder of the steering parking aid sender cannot be swapped with each other as each has its own installation position.
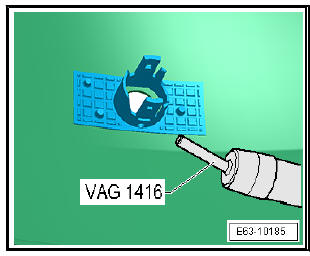
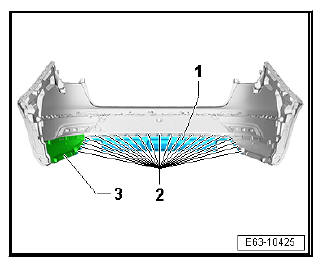
- Using 100 ml plastic cleanser - D 195 850 A1- , clean the area -5- of the bumper trim where the new holder should be fitted.
Flashing-off time, approx. 5 minutes.
- Apply a thin layer of Plastic cleanser 150 ml - D 822 150 A1- to the surface -5- of the bumper trim.
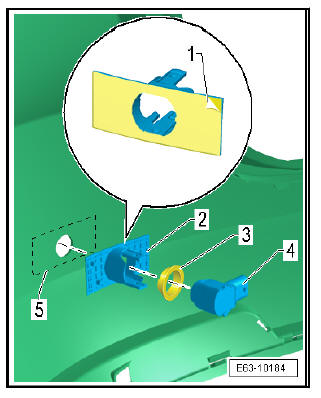
- Remove the protective paper -1- from the adhesive foam tape.
- Position the holder -2- in the bumper trim within the marked field.
- Press the holder -2- against the bumper trim.
- Connect the connector to the sender.
- Check the condition of the seal -3- and replace when damaged.
- Insert the seal -3- in the sender -4-.
- Install the parking assist sender.
- Install the rear bumper lining.
Bumper cover, three and five-door models (model FR): remove and install
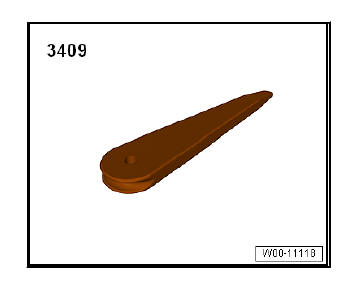
Special tools and workshop equipment required
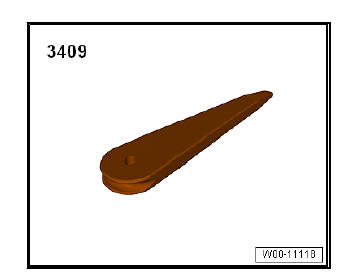
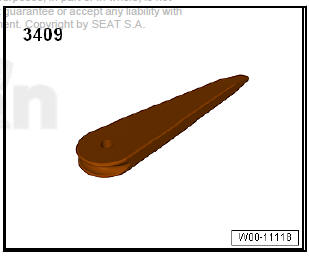
- Release lever - 3409-
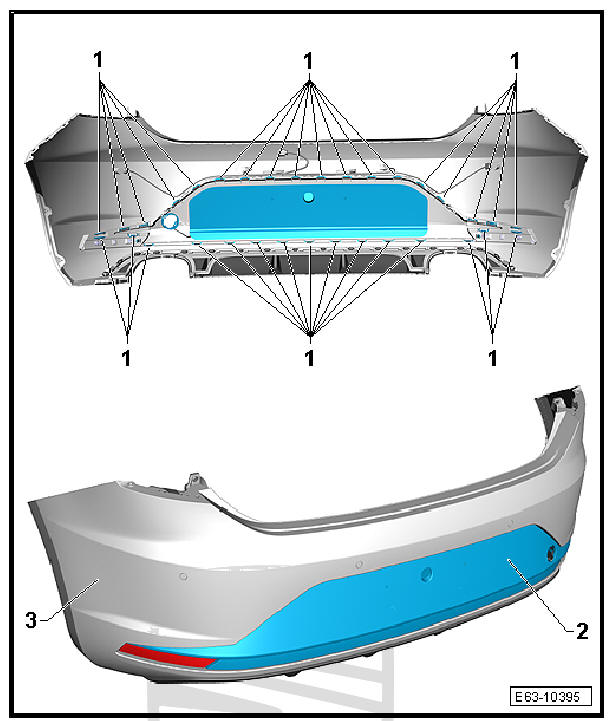
- Remove rear bumper cover.
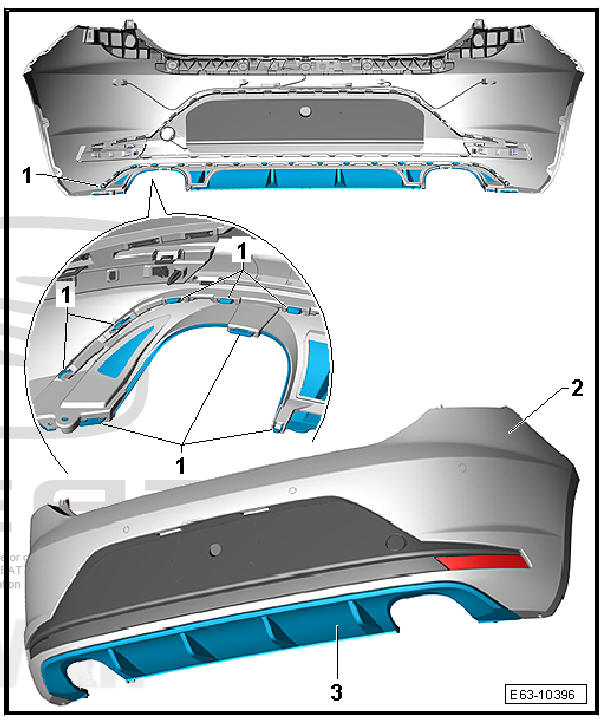
- Undo the fixings -1-, beginning in one corner and remove the cover -2- of the bumper -3-.
fitting
Installation is done in reverse order of removal operations.
Removing and installing bumper cover (CUPRA version)
Special tools and workshop equipment required
- Release lever - 3409-
- Remove the rear bumper trim
- Undo the fixings -1-, beginning in one corner and remove the cover -2- of the bumper -3-.
fitting
Installation is done in reverse order of removal operations.
Removing and installing bumper cover (FR Leon 2017 version)
Special tools and workshop equipment required
- Release lever - 3409-
- Remove the rear bumper trim
- Undo the fixings -1-, beginning in one corner and remove the cover -2- of the bumper -3-.
fitting
Installation is done in reverse order of removal operations.
Lower spoiler (rear bumper) (CUPRA version): remove and install
Special tools and workshop equipment required
- Release lever - 3409-
Removing
- Remove the rear bumper trim:
- Loosen the fasteners -1-, starting with one corner and separate the lower spoiler -3- from the bumper -2-.
fitting
Installation is done in reverse order of removal operations.
Lower spoiler (rear bumper) model ST: remove and install
Special tools and workshop equipment required
- Release lever - 3409-
Removing
- Remove rear bumper cover.
- Loosen the fasteners -1-, starting with one corner and separate the lower spoiler -2- from the bumper -3-.

fitting
Installation is done in reverse order of removal operations.
Lower spoiler (rear bumper) X-PERIENCE model: remove and install
Special tools and workshop equipment required
- Release lever - 3409-
- Remove rear bumper cover.
- Partially remove the heat shield -3-.
- Loosen the fasteners -1-, starting with one corner and separate the lower spoiler -1- from the bumper.
fitting
Installation is done in reverse order of removal operations.
Lower spoiler (rear bumper), Leon 2017 version: remove and install
Special tools and workshop equipment required
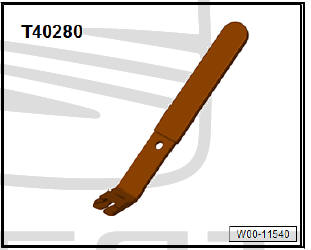
- Release lever - T40280-
Removing
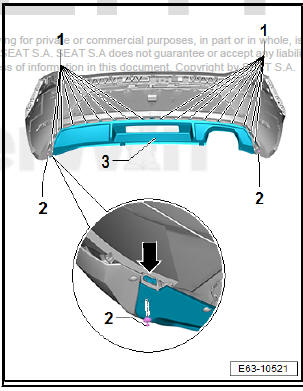
- Remove rear bumper cover.
- Remove the clips -2- with the lever - T40280- .
- Release clips -1- starting from one of the two sides.
- Remove the spoiler -3-.
fitting
Installation is done in reverse order of removal operations.
Repairing bumper cover
Note If bumper trim is damaged, determine whether plastic can be repaired before exchanging bumper.
 Removing and installing bumper cover
Rear bumper trim, three and five-door
models: remove and install
Special tools and workshop equipment required
Torque wrench - V.A.G 1331-
Removing
Open the tailgate.
Remove tail ligh ...
 Modifying the rear bumper trim for vehicles with rear view camera
- Adjustment template of the
bumper trim
To print the template
- Bumper trim
- Holder for rear view camera
Note
The rear bumper trim is supplied without the opening for the
...
See also:
Preparing new windows for installation
CautionNew panes of glass have the following
characteristics:
You make a reference line on the inside in order to make
the application of the adhesive sealing material (PUR)
...
