Seat Leon >> Removing and installing the cover for the lock of the outside handle (front door)
Special tools and workshop equipment required
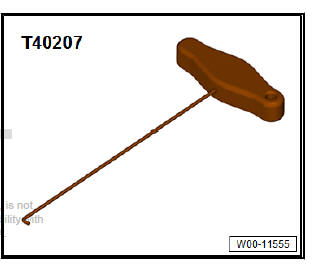
- Hooks - T40207-
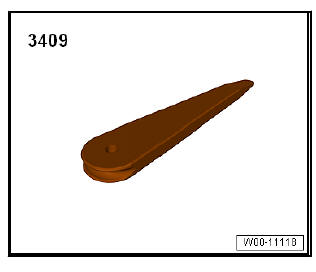
- Release lever - 3409-
Note The lock cover of the outside handle (front door) is installed only on the passenger side.
Removing
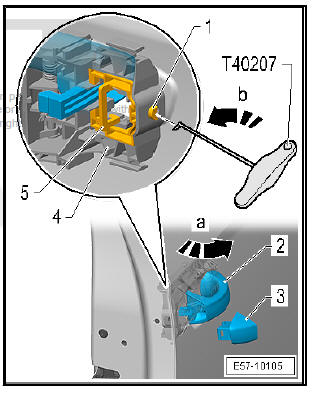
- Release the anti-jam protection -1- and guide the hook - T40207- in the position shown through the aperture in the door -Arrow-.

- Insert the hook - T40207- until it makes contact with the axis -1- of the locking bar -5-.
- Pivot the hooks - T40207- in the direction of -arrow B- until it
engages in the inner tab of the axis -1- of the locking bar -5-.
Pull the hooks - T40207- to the rear to be able to axis -1- out until the stop.
- Carefully pull the handle -2- outwards -arrow A- and hold tight.
- Using the lever - 3409- , remove the lock cover -3- from the handle mount -2-.
fitting
Fit in reverse order from removal, remembering the following:
- Before installing the handle trim, make sure that the locking
bar is in the disengaged position that it was in when removing.
If you have problems with inserting the handle trim, remove the axis of the locking bar again using the hooks - T40207- as described in the removal procedure.
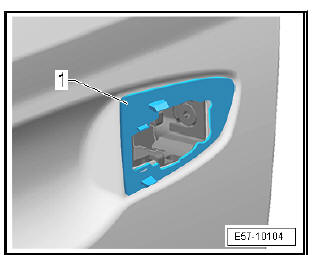
- If the rear base -1- is damaged or brittle, replace it.
- Make sure that the rear base -1- is installed correctly.
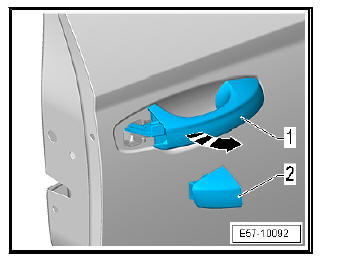
- Pull the handle -1- in the -direction of the arrow- and secure.
- Insert the lock cover -2- into the handle mount.
- Release lever -1-.
- Detach the anti-jam protection -2-
- Insert a driver in aperture of protective cover and apply pressure to shaft on locking bracket -1- until it abuts firmly against its limit stop.
| Caution Do not close the door; it may possibly not open.
|
- Use isopropanol or heptanol to clean the door area to which you must fit the polyurethane protection -2-.
- Then use silicon cleaning agent on the affected area. Allow to dry well.
- Fit the polyurethane protection -2- to the door.

 Lock cylinder, removing and installing
Special tools and workshop equipment required
Release lever - 3409-
Torque wrench - V.A.G 1331-
"Extension 1/4""" - T20203A
CautionComplete this process when replacing a ...
 Removing and installing the cable for
the outside handle (front door)
Removing and installing the cable for
the outside handle (front door)
Cable for the outside handle (front door): Removing.
Cable for the outside handle (front door): Fitting.
CautionRisk of malfunctions.
When removing and installing, make sure the opera ...
See also:
Front differential lock: change oil
NOTICE
On the front differential lock, a multi-plate clutch similar to the
all-wheel clutch can be found.
The front differential lock is filled with high-performance oil for
all-wheel drive clut ...
