Seat Leon >> Repairing shock absorber
SEAT Leon Service and Repair Manual / Running gear, axles, steering / Rear suspension / Suspension strut, shock absorber,
spring / Repairing shock absorber
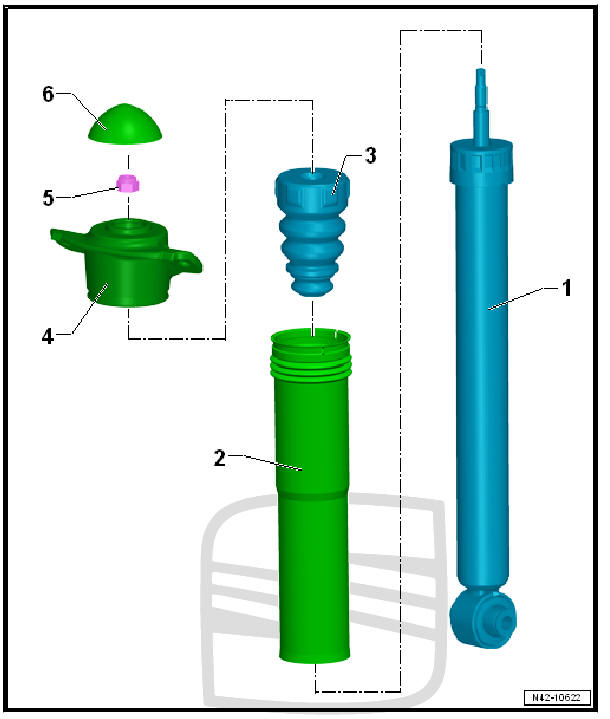
- - Shock absorber
- Removing and installing
- Defective shock absorbers must always be degassed and drained before disposal
- Checking shock absorber following removal
- - Guard tube
- - Buffer stop
- - Shock absorber socket
- - Nut
- Always renew after removing
- Loosening and tightening
- 25 Nm
- - Cover
Special tools and workshop equipment required
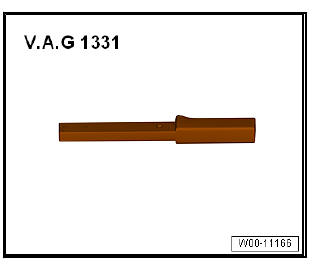
- Torque wrenches - V.A.G 1331-
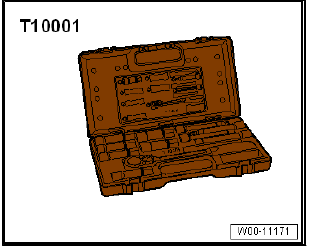
- Shock absorber set - T10001-
- Ring spanner insert (commercial type, e.g. "Hazet 6630c-21")
Loosening and tightening nut on shock absorber mounting

- - Ring spanner insert (commercial type, e.g. "Hazet 6630c-21")
- - Insert tool - T10001/9-
- - Commercially available ratchet
- - Torque wrenches - V.A.G 1331-
- - Insert tool - T10001/1-
- - Shock absorber mounting
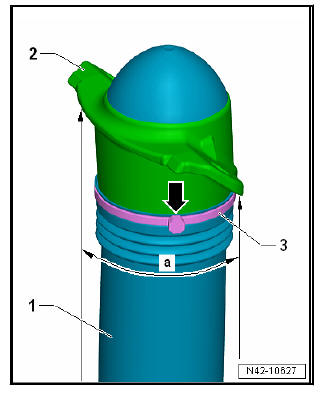
Carry out installation in the reverse sequence, noting the following:
- Slide protective tube -1- onto shock absorber mounting -2-.
- Fit cable tie -3- and tighten.
Note The fastener -arrow- of the cable tie -3- must be located within area -a-.
 Shock absorber: removing and fitting
Removing and installing shock absorber, torsion beam axle
Special tools and workshop
equipment required
Torque wrenches -
V.A.G 1332-
Torque wrenches - V.A.G
1410-
Spring tensor - V.A.G
...
 Removing and installing spring
Removing and installing spring, torsion
beam axle
Special tools and workshop equipment required
Spring tensor - V.A.G 1752/1-
Spring retainer - V.A.G 1752/3A-
Adapter - V.A.G 175 ...
See also:
Assembly overview - heater and air conditioning
unit
Note
There are different designs and makes of heater and air conditioning
unit. The individual components of the various heaters
and air conditioning units are similar but not identical. The
...
