Seat Leon >> Removing and installing heat shield for propshaft
SEAT Leon Service and Repair Manual / General body repairs, exterior / Exterior equipment / Mouldings / trims / extensions / Removing and installing heat shield for
propshaft
Special tools and workshop equipment required
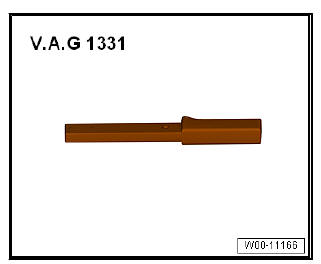
- Torque wrench - V.A.G 1331-
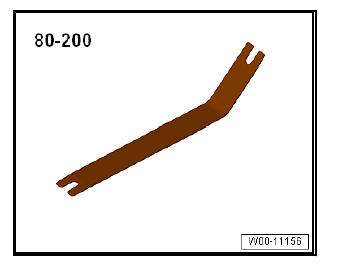
- Release lever - 80 200-
- Protective goggles and leather gloves
Removing
| DANGER! Always wear safety goggles and leather gloves. |
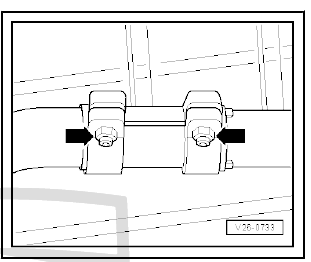
- Separate the exhaust system at the collet -arrows-.
- Insert pipe or tyre lever -3- into the exhaust pipe -1- and place this on the tunnel cross-piece -2-.
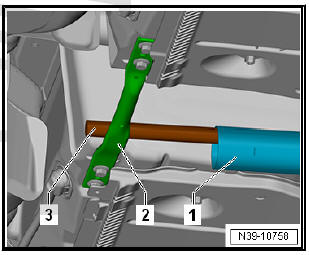
| Caution There is a risk of damaging the decamping elements.
|
- Press out the securing washers -2-, which fasten the heat shield for the central tunnel, as follows:
- Place the pressing lever - 80 200- on the underside of the securing washer -2-, release the fixing tabs -3- in the direction of the -arrow- and pull out the securing washer -2-.
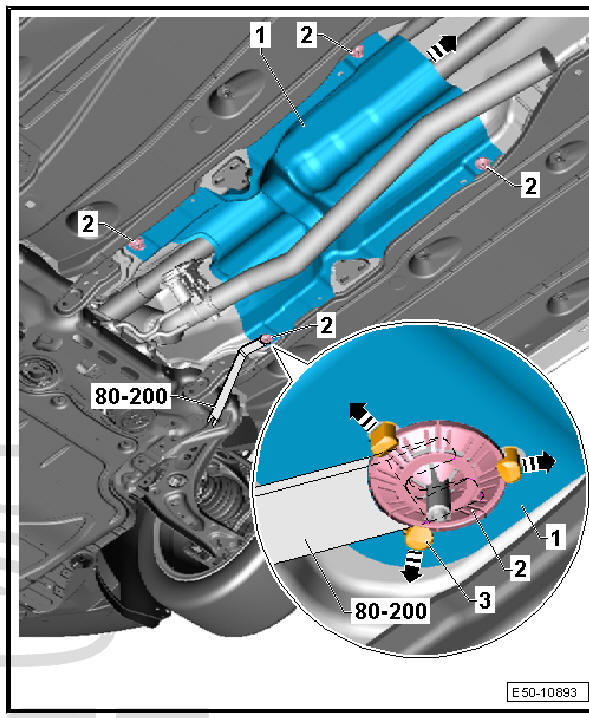
- Move the heat shield for the centre tunnel to the rear -arrow-, making sure that it does not deform too much in the process.
fitting
Fit in reverse order from removal, remembering the following:
Note Replace the securing washers which fasten the heat shield with new washers.
- Installation position of double clamp.
 Removing and installing heat shield for
centre tunnel
Removing and installing heat shield for
centre tunnel
Special tools and workshop equipment required
Torque wrench - V.A.G 1331-
Protective goggles and leather gloves
Removing
DANGER!
Always wear safety goggles and leather gloves ...
 Remove and install panel trim
Special tools and workshop
equipment required
Hot-air blower - SAT 1416-
Digital thermometer - SAT
4013-
Thrust piece - T20098-
Release lever - U 30800-
Adhesive strip remover -
VAS 6 ...
See also:
Side indicators
Fig. 173 Indicator
– Press the indicator on one of its sides to take it out.
– Remove the lamp holder from the indicator.
– Remove the failed glass bulb and replace with a new bulb.
– In ...
