Seat Leon >> Removing and installing mounting bracket
Special tools and workshop equipment required
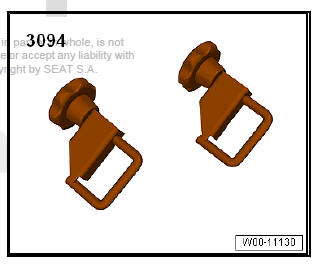
- Hose clamps, up to Ø 25 mm - 3094-
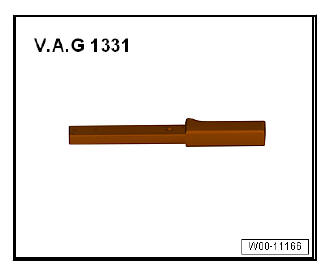
- Torque wrenches - V.A.G 1331-
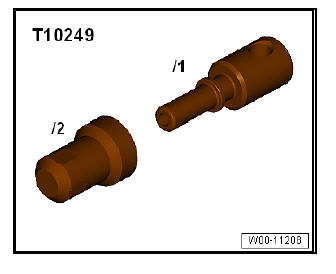
- Sealing tool - T10249-
Removing
- Push driver's seat as far back as possible.
- Move steering wheel up as far as it will go, making use of full range of steering column adjuster.
- If fitted, remove footwell cover on driver side.
Vehicles with knee airbag
- Remove the knee airbag -1- on the driver's side.
Vehicles without knee airbag
- Disconnect battery.
Continued for all vehicles:
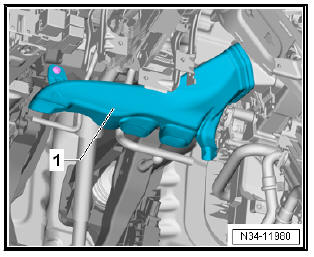
- Remove the driver-side footwell outlet vent -1- .
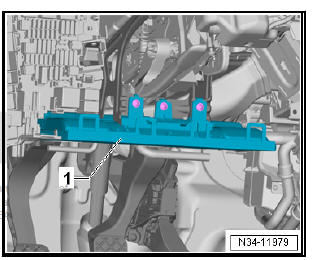
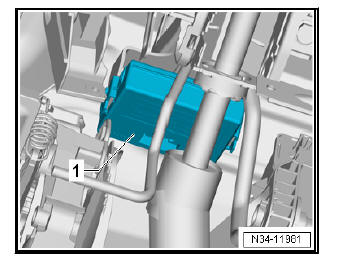
- Remove the diagnosis interface for the data bus - J533- from the bracket -1- .
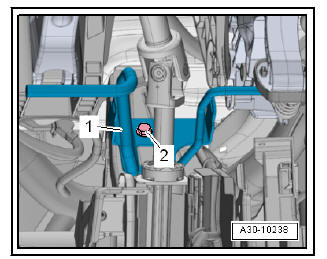
- Remove bolt -2-, detach crash bar -1- and push to one side.
- If the bracket for parking aid control unit - J446- / park assist steering control unit - J791- is fitted next to the clutch pedal, remove bracket . Do not disconnect wiring connections.
- Remove complete air filter housing if it prevents access to the lines for clutch mechanism.
RHD
- An insulation mat is installed in conjunction with some engines.
Appearance may be different from that illustrated.
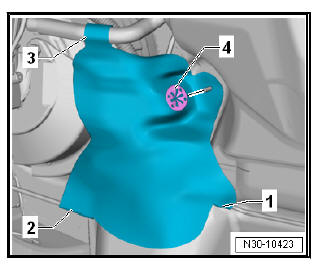
- Remove insulation mat. Note item -1...4-.
Left-hand drive vehicles
- Remove battery and battery tray .
Continued for all vehicles:
| Caution Risk of brake fluid escaping.
|
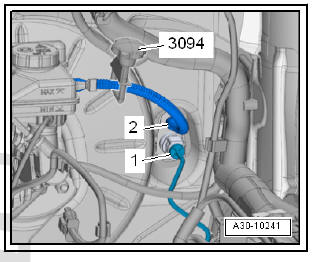
- Using hose clamp - 3094- , clamp off supply hose -2- to clutch master cylinder.
Note
- Clamping off the supply hose with the hose clamp - 3094- will cause a permanent deformation.
- However, this does not damage the supply hose.
- After removing the hose clamp - 3094- , the supply hose must be returned to its original shape.
- Pull clip for pipe/hose line -1- all the way out and remove pipe/ hose line.
- Seal openings.
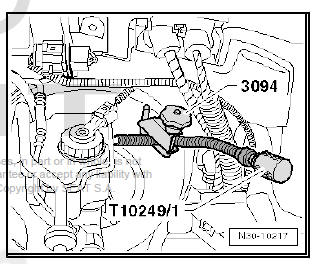
- Disconnect supply hose from clutch master cylinder and plug hose using sealing tool - T10249/1- .
Note When working in the footwell, protect the floor covering with cloths from escaping brake fluid.
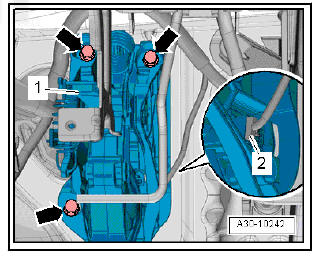
- Unplug electrical connector -2- at clutch position sender - G476- .
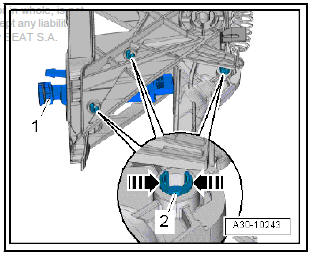
- Remove nuts -arrows- and detach mounting bracket -1-.
Installing
Carry out installation in the reverse sequence, noting the following:
- Renew self-locking nuts and seal for clutch master cylinder after removing.
- If the bracket for parking aid control unit - J446- / park assist steering control unit - J791- is fitted next to the clutch pedal, remove bracket . Do not disconnect wiring connections.
- Position the crash bar -1- and tighten the screw -2- .
- Remove the diagnosis interface for the data bus - J533- from the bracket.
- Install the driver-side footwell outlet vent .
Vehicles with knee airbag
- Install driver-side knee airbag.
Note The battery is installed and connected at a later stage.
Continued for all vehicles:
- Connect pipe/hose assembly -1- to connection.
- Connect supply hose -2- at clutch master cylinder.
- After removing the hose clamp - 3094- , the supply hose must be returned to its original shape.

RHD
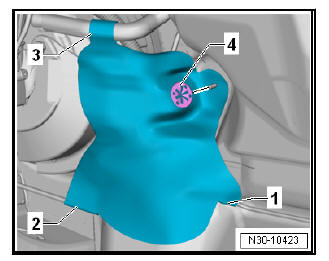
- If present, attach the insulation mat in the order -1, 2, 3- around the lines.
- Secure the insulation mat with the lock washer -4-.
Continued for all vehicles:
- Bleeding clutch mechanism.
Vehicles with knee airbag
- Install and connect battery .
Vehicles without knee airbag
- Install and/or connect battery .
Specified torques
- For securing mounting bracket to bulkhead.
Removing and installing master cylinder
Removing
Note
- Carry out Guided fault finding using - Vehicle diagnostic tester before you renew the clutch master cylinder with an assumed fault.
- When working in the footwell, protect the floor covering with cloths from escaping brake fluid.
- Remove mounting bracket
- Remove clutch position sender - G476
- Release catches -arrows- and press out pivot pin -2-
- Detach clutch master cylinder -1-.
Installing
Carry out installation in the reverse sequence, noting the following:
Renew pivot pin after removal.
- Install mounting bracket .
- Install clutch position sender - G476.
 Removing and installing return spring
Removing
Push driver's seat as far back as possible.
Move steering wheel up as far as it will go, making use of full
range of steering column adjuster.
If fitted, remove footwell cover on dr ...
 Removing and installing clutch slave
cylinder
Removing and installing clutch slave
cylinder
Special tools and workshop equipment required
Hose clamps, up to Ø 25 mm - 3094-
Torque wrenches - V.A.G 1331-
Removing
Note
Before replacing the clutch slave cylinder due a sus ...
See also:
Coming home / leaving home function*
After dark the area around the car is lit up with the aid of the
coming home / leaving home function.
Coming home function*
To activate the function
– Put the light switch into the position
or ...
