Seat Leon >> Removing and installing brake calliper piston
SEAT Leon Service and Repair Manual / Brake system / Brakes - hydraulics / Front brake callipers / Removing and installing brake calliper
piston
Special tools and workshop equipment required
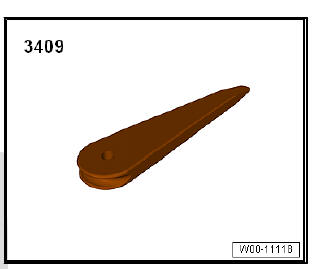
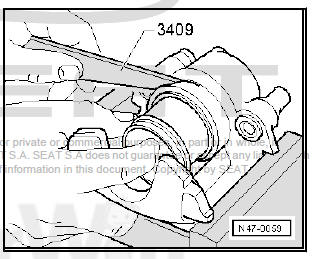
- Wedge - 3409-
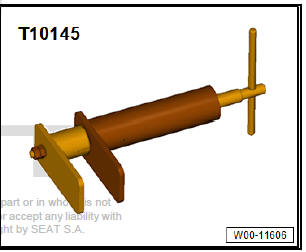
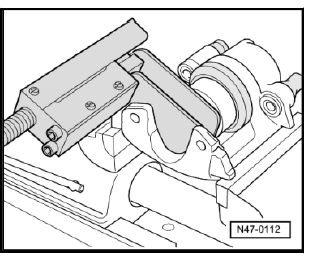
- Thrust piece - T10145-
Note
- When carrying out repairs, install all parts supplied in repair kit.
- Use only methylated spirits for cleaning the brake.
- Apply thin coat of assembly paste G 052 150 A2 to brake cylinder, piston and sealing ring.
Removing:
Note Place a piece of wood in the cavity so that the piston does not get damaged.
- Force piston out of brake calliper housing using compressed air.
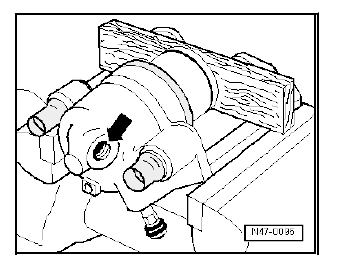
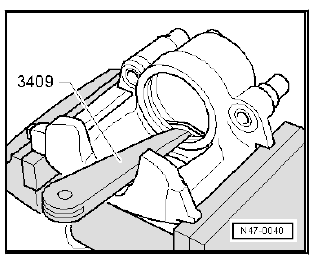
- Remove seal using wedge - 3409- .
Note When removing protect the cylinder from damage.
Installation:
- The piston and join ring surfaces can only be cleaned using alcohol and immediately dried.
- Before fitting the piston and seal ring, apply a thin coating of assembly paste.
- Introduce the join ring into the brake caliper housing.
- Place protective cap with outer sealing lip on piston.
- Using the removal wedge - 3409- , insert the inner sealing lip into the groove of cylinder.
Note During this operation, the piston has to be supported in front of the brake caliper housing.
- Insert the brake caliper piston using the press tool - T10145- .
Note The outer sealing lip of the protective cap will then locate in the groove on the piston.
 Assembly overview - front brake caliper
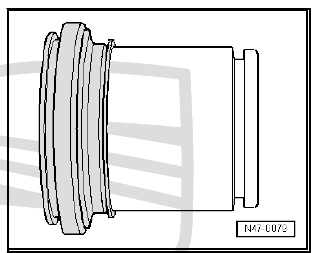
Exploded view - brake calliper FS III
- Protective cap
Fit onto bleeder valve.
- Bleeder screw
Before inserting, lightly
grease the thread with
assembly paste G 052
150 A2 ...

See also:
Petrol engine 2.0l 147 kW (200 bhp). Manual
General engine data
a) With a slight power loss
Performance figures
Weights
Trailer weights
Engine oil filling capacity
...
