Seat Leon >> Lowering rear axle
Lowering rear axle, multi-link suspension, front-wheel drive
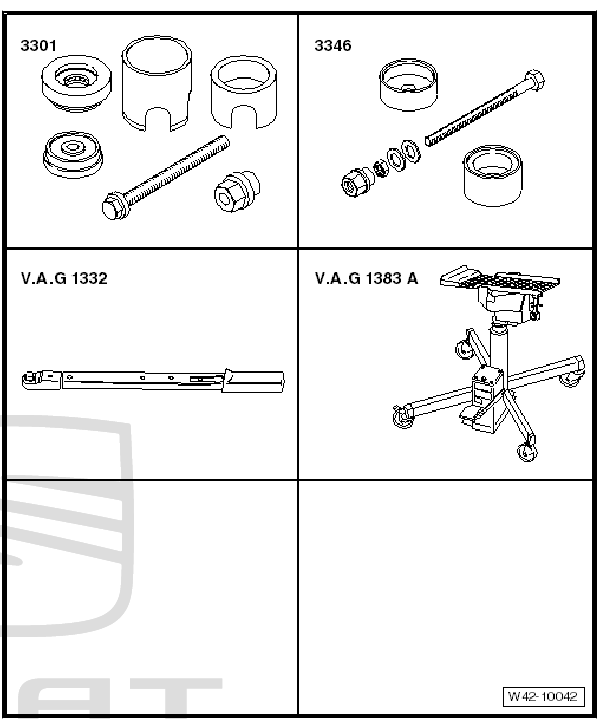
Special tools and workshop equipment required
- attachment tool - 3301-
- attachment tool - 3346-
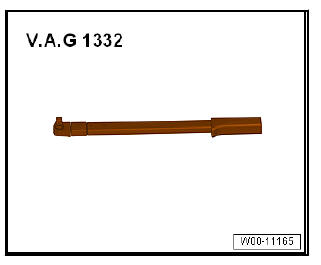
- Torque wrenches - V.A.G 1332-
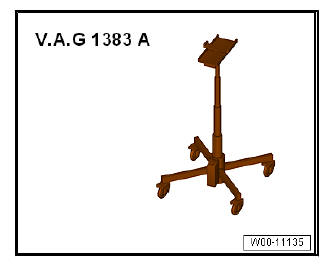
- Engine/gearbox jack - V.A.G 1383 A-
Lower subframe with attachments.
- Remove rear wheels.
- Unbolt brake calipers on both sides of vehicle and suspend from body.
- Remove the coil springs.
- Remove rear silencer for exhaust system.
Vehicles with vehicle level senders
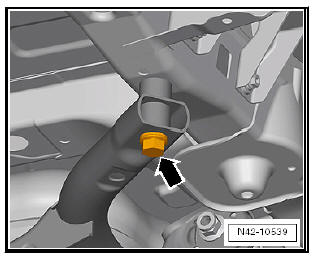
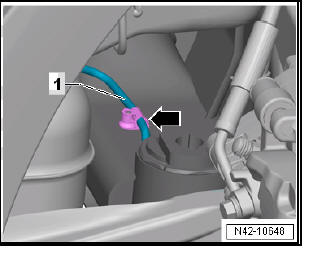
- Unplug the electrical connector -1-.
Continuation for all models:
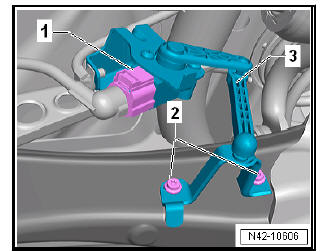
- Unplug electrical connector -1- from ABS speed sensor on both sides and move clear.
- Disconnect the electrical connector -2-right and left of the engine of the electromechanical parking brake on the brake caliper.
- Detach electrical wiring harness from retainers -arrows- and move clear.
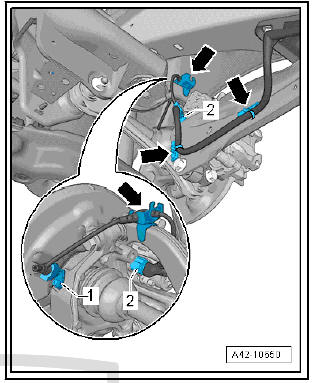
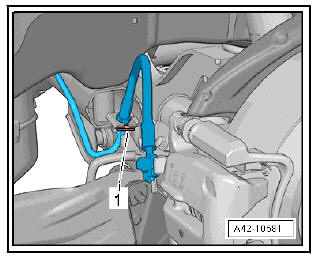
- Pull out retaining clip -1- on both sides of vehicle.
- Move brake line clear of retainer.
Note Do not open brake line.
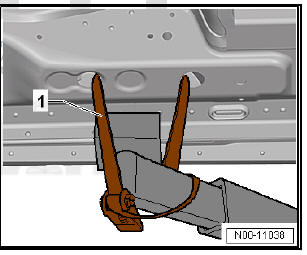
- Use tensioning straps - T10038- to strap vehicle to support beams of lifting platform on both sides.
| WARNING If the vehicle is not strapped down, there is a great danger that the vehicle will slip off the lifting platform. |
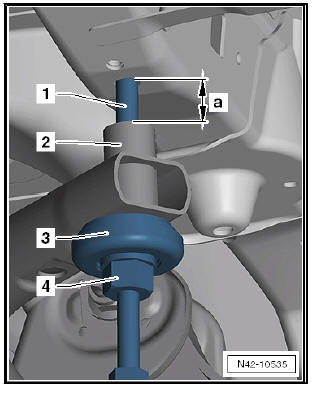
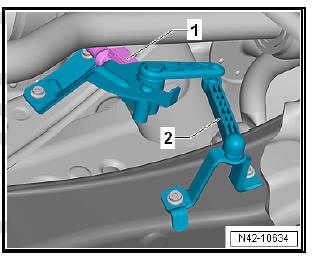
- Fix subframe at both forward bolts.
- Unscrew rear right bolt of subframe -arrow-.
- Screw spindle - 3346/2- into thread of longitudinal member using thrust piece of assembly tool - 3301- and nut - 3346/3- .
- -3346/2- Spindle
- Sub-frame
- Thrust piece from assembly tool - 3301-
- Nut -3346/3-
- Unscrew rear left bolt of subframe.
- Turn nut -3346/3- on spindle -3346/2- until subframe is lowered by -a- = 40 mm.
Installing subframe with attachments
Carry out installation in the reverse sequence, noting the following:
Specified torques
- Exhaust pipes double clamp.
- On vehicles with vehicle level sender, carry out basic settings for wheel damper electronics
- On vehicles with vehicle level sender, carry out basic adjustment of headlights
Lowering rear axle, multi-link suspension, four-wheel drive
Special tools and workshop equipment required
- Torque wrenches - V.A.G 1332-
- Engine/gearbox jack - V.A.G 1383 A-
Lower subframe with attachments.
- Remove rear wheels.
- Unbolt brake calipers on both sides of vehicle and suspend from body.
- Remove the coil springs .
- Remove rear silencer for exhaust system.
Vehicles with vehicle level senders
- Disconnect connector -1- from vehicle level sender -2-.
Continuation for all models:
- Unplug electrical connector -1- from ABS speed sensor on both sides and move clear.
- Disconnect the electrical connector -2-right and left of the engine of the electromechanical parking brake on the brake caliper.
- Detach electrical wiring harness from retainers -arrows- and move clear.

- Pull out retaining clip -1- on both sides of vehicle.
- Move brake line clear of retainer.
Note Do not open brake line.
- Detach propshaft from rear final drive and secure.
- Use tensioning straps - T10038- to strap vehicle to support beams of lifting platform on both sides.
| WARNING If the vehicle is not strapped down, there is a great danger that the vehicle will slip off the lifting platform! |

- Locate subframe in position.
- Lower subframe with attachments about 20 mm.
- Separate connector on Haldex coupling above final drive.
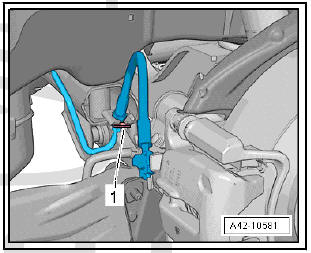
- Unclip brake line -1- from clip -arrow- on left side.
Note The clip will be destroyed and must be renewed.
- Lower subframe with attachments about 140 m
Installing subframe with attachments
Carry out installation in the reverse sequence, noting the following:
Specified torques
- Exhaust pipes double clamp.
- Propshaft.
- On vehicles with vehicle level sender, carry out basic settings for wheel damper electronics - Vehicle diagnostic tester.
- On vehicles with vehicle level sender, carry out basic adjustment of headlights.
- When does wheel alignment have to be checked?
 Rear axle
Overview - rear axle
Overview - rear axle, torsion beam axle
Overview - rear axle, multi-link suspension
Overview - rear axle, multi-link suspension, four-wheel drive
...
 Removing and installing rear axle
Removing and installing rear axle, torsion
beam axle
Special tools and workshop equipment required
Support tool - T10038-
Torque wrenches - V.A.G 1332-
Engine/gearbox jack - VAS ...
See also:
Removing and installing attachments
Replacement of the rear parking steering
aid sender holder
Special tools and workshop equipment required
Release lever - 3409-
Hot-air blower - VAG 1416-
Materials
Plastic clean ...
