Seat Leon >> Removing and installing door seal
Special tools and workshop equipment required
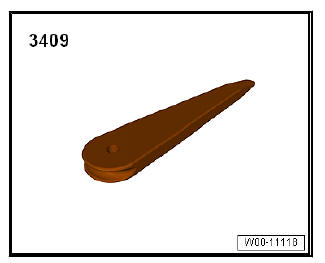
- Release lever - 3409-
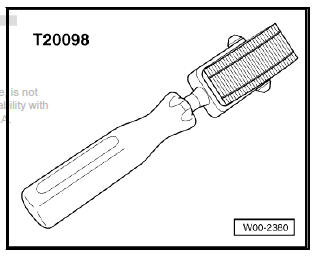
- Thrust piece - T20098-
Back door seal: Removing
Note The sequences below describe the processes for removal and installation for the left side of the vehicle. The corresponding sequences for the right side are similar with the exception that, where applicable, the scope of the process is written by yourself.
- Open the rear door.
- Remove the necessary column covers.
Remove door sill
- Remove handle.
| WARNING Take care not to damage the roof lining in the application area where the seal joins the roof. |
- Detach the door seal from the body flange.
fitting
Note
- When being installed in the production, the seals are coated with a sealing mass, placed in the flange and then put in position using the press tool - T20098- .
- On removing the seal, the sealant spreads onto the interior of
the seal and the sides open slightly. When reinstalling, the
tightness nor the correct seating of the seal can be guaranteed.
Therefore each seal which is removed completely should be replaced by a so-called "tap-on" seal.
- If the gaskets are pulled out partially, it is necessary to press the sides of the seal together before installing.
- Temporarily place the seal on the bodywork flange. When doing so, keep in mind the following:
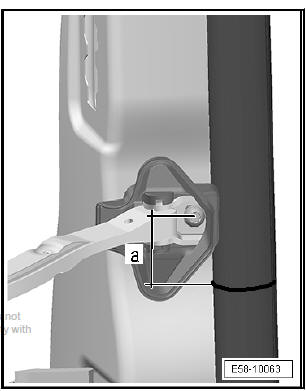
- The vulcanised connection -arrow- must have a distance -A= 50 mm- from the fixing opening of the door holder.
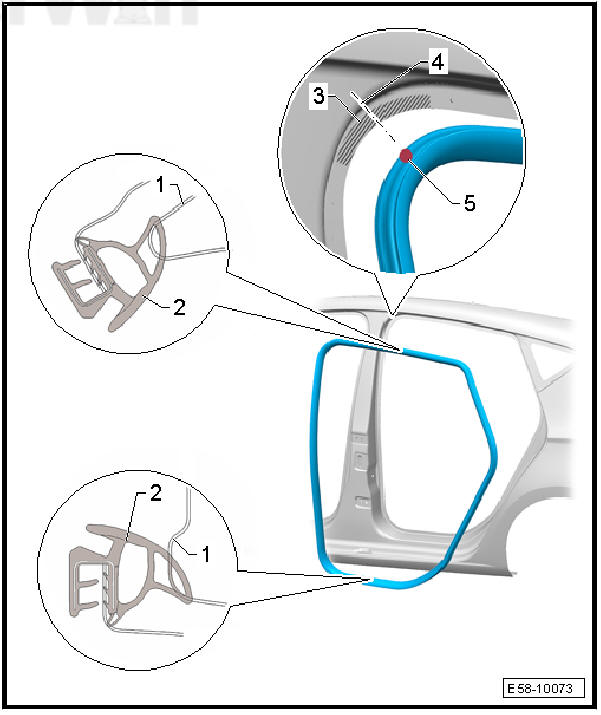
- Start the installation on the upper diameter -3- of the body flange and then continue with the remaining sections.
- If the seal is positioned correctly on the bodywork flange, press in the seal over the entire perimeter using the press tool - T20098- .
- Install the necessary column covers.
- Install door sill.
- Install handle.
 Removing and installing door hinges
Special tools and workshop equipment required
Torque wrench - V.A.G 1331-
Removing
Note
The sequences below describe the processes for removal and
installation for the left side of the veh ...
 Removing and installing the cover for
the lock of the outside handle (back
door)
Removing and installing the cover for
the lock of the outside handle (back
door)
Special tools and workshop equipment required
Hooks - T40207-
Release lever - 3409-
Removing
Release the anti-jam protection -1- and guide the hook -
T40207- in the position sho ...
See also:
Brake testing
General instructions
The drive is provided by the test rig.
During the test the gearbox must be in neutral on manual
gearboxes or in position N on automatic gearboxes.
Follow the instruction ...
