Seat Leon >> Removing and installing air duct
Special tools and workshop equipment required
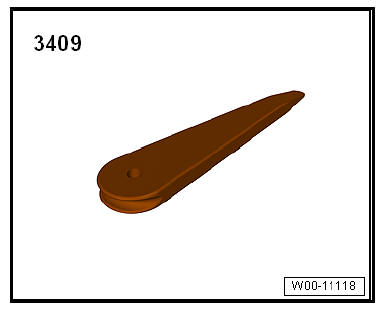
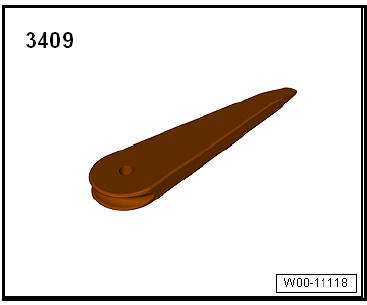
- Release lever - 3409-
| Caution The following component does not have to be removed when removing the air ducts.
|
Removing
- Remove bumper cover (front).
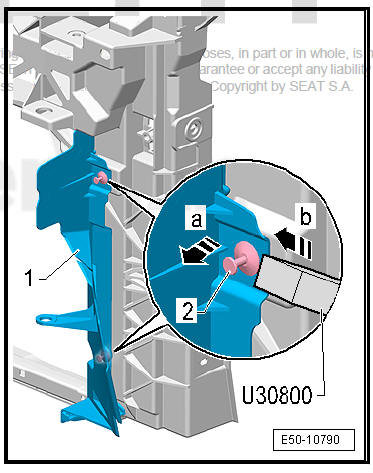
- Remove the expanding catches used to fix the air ducts. To
do so, proceed as follows:
- Fit the lever - 3409- in the recess in the centre piston -2- of the rivet and lever the piston outward -Arrow a-.
- Place the lever - 3409- -arrow b-under the outside edge of the rivet left and lever out of the rivet.
- Remove the radiator ducting -1-.
- Repeat the procedure to remove the other guides.
fitting
Fit in reverse order from removal, remembering the following:
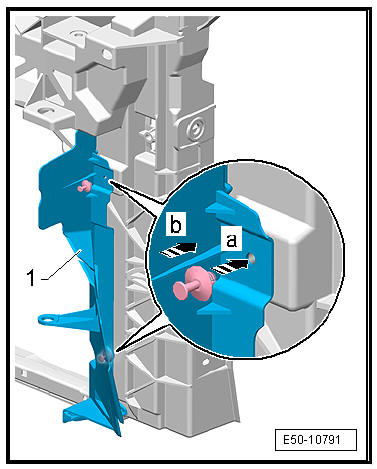
- Replace the expanding rivets once removed.
- Pull out the rivet piston.
- Insert the spreader rivet -arrow a-. For this purpose, press on the outer edge of the leg.
- Knock in the piston -arrow b- using a dead blow hammer.
Auxiliary radiator air duct: remove and install
Special tools and workshop equipment required
- Lever - 3409-
| Caution The following component does not have to be removed when removing the auxiliary radiator air duct:
|
Note The sequences below describe the processes for removal and installation for the right side of the vehicle. The corresponding sequences for the left side are similar with the exception that, where applicable, the scope of the process is written by yourself.
Removing
- Remove bumper cover (front).
- If necessary loosen electrical wiring harness for signal horn from the air duct.
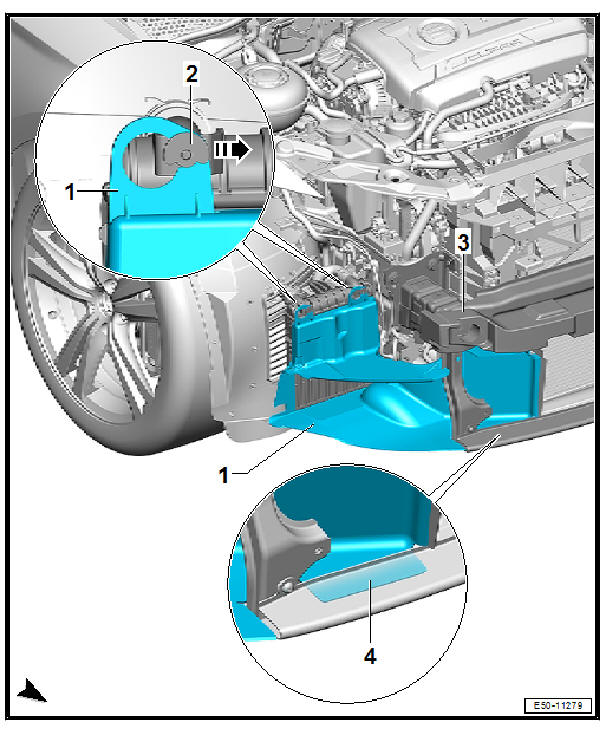
- Slide air duct -1- in -direction of arrow- , in order to loosen the fixings -2- of the auxiliary radiator.
- Unclip release tabs -4- on cross member -3- and remove air duct -1-.
Installation
Installation is done in reverse order of removal operations.
 Lock carrier: replace
Special tools and workshop equipment required
Torque wrench - V.A.G 1331-
Remove lock carrier
Unscrew the bolts -arrow- with their adjusting sleeves. Subsequently
remove the main headl ...
 Removing and installing lock carrier
brace
Removing and installing lock carrier
brace
Special tools and workshop equipment required
Torque wrench - V.A.G 1331-
CautionThe following component does not have to be
removed when
removing the lock carrier brace:
...
See also:
Panorama roof, Leon and Leon SC
Special tools and workshop equipment required
Brush
Finely pored sponge
Workshop vacuum cleaner, for example wet-dry vacuum
cleaner
Solid lubricating paste G 060 751 A2
Special lubricati ...
